When I first laid eyes on these vibrant blue beauties, I knew I’d stumbled upon something magical. Big Blue Monster Stuffed Cookies aren’t just another cookie recipe – they’re a nostalgic journey back to childhood wrapped in a deliciously chewy package. These oversized treats combine the playful spirit of everyone’s favorite blue monster with the indulgent satisfaction of a perfectly stuffed cookie.
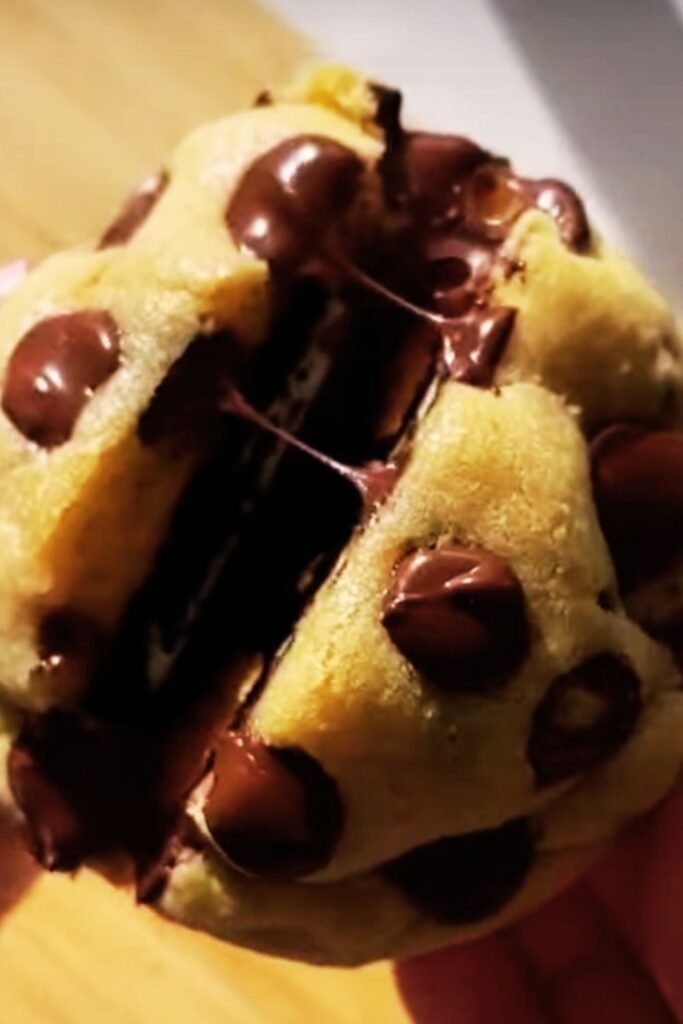
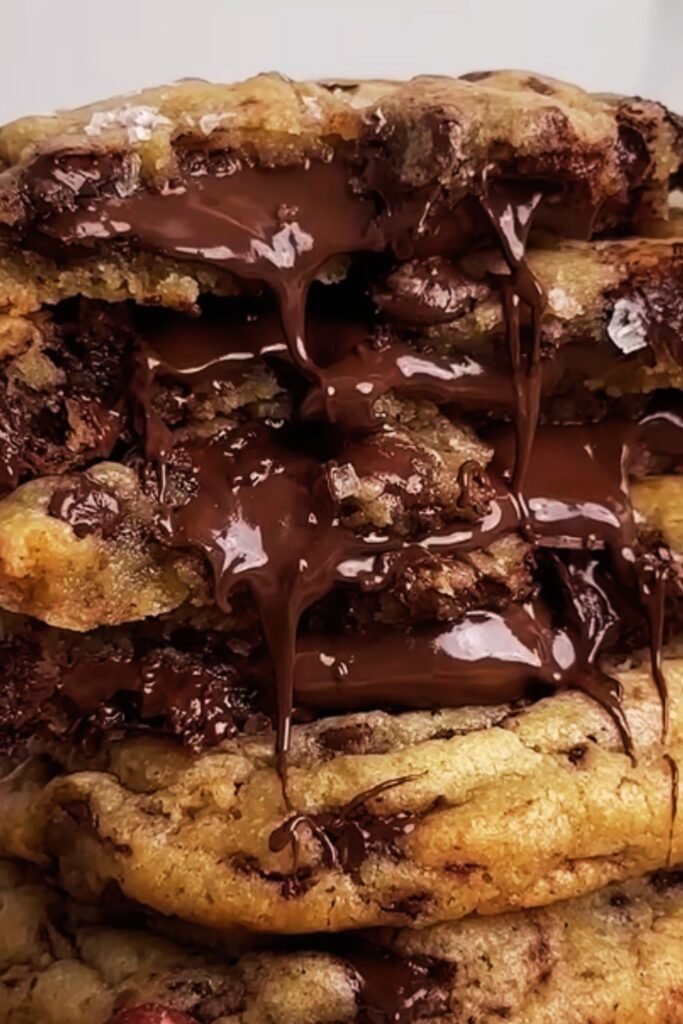
The beauty of these cookies lies in their theatrical presentation and surprising interior. From the outside, you’re greeted by a brilliant blue exterior that’s impossible to ignore. But crack one open, and you’ll discover a treasure trove of chocolate chips, marshmallows, and other delightful surprises nestled within the tender cookie dough.
I’ve spent countless hours perfecting this recipe, experimenting with different stuffing combinations and achieving that perfect balance between structural integrity and gooey center. What started as a whimsical idea for my nephew’s birthday party has evolved into one of my most requested recipes.
Understanding the Big Blue Monster Cookie Concept
Monster Cookies : Large-format cookies typically measuring 4-6 inches in diameter, characterized by their oversized appearance and multiple mix-in ingredients
Stuffed Cookies : Cookies with a hollow center filled with various ingredients like chocolate, marshmallows, or other confections before baking
Blue Food Coloring Technique : The process of achieving vibrant blue coloration in baked goods while maintaining proper texture and flavor balance
Chewiness Factor : The desired texture achieved through specific ratios of brown sugar, butter temperature, and baking time
The concept behind these cookies draws inspiration from the beloved Cookie Monster character while incorporating modern baking techniques. I’ve found that the key to success lies in understanding how food coloring affects dough consistency and how stuffing ingredients behave during the baking process.
Essential Ingredients and Their Roles
Creating the perfect Big Blue Monster Stuffed Cookies requires careful selection of ingredients, each serving a specific purpose in achieving the desired texture, flavor, and appearance.
| Ingredient | Quantity | Purpose | Notes |
|---|---|---|---|
| All-purpose flour | 2¾ cups | Structure foundation | Don’t overmix to avoid tough cookies |
| Butter (room temp) | 1 cup | Fat content & texture | Must be properly softened |
| Brown sugar | 1 cup packed | Moisture & chewiness | Creates tender crumb |
| Granulated sugar | ½ cup | Sweetness & spread | Balances brown sugar |
| Large eggs | 2 | Binding & richness | Room temperature works best |
| Vanilla extract | 2 tsp | Flavor enhancement | Pure vanilla recommended |
| Baking soda | 1 tsp | Leavening agent | Creates proper rise |
| Salt | 1 tsp | Flavor amplifier | Enhances all other flavors |
| Blue food coloring | 1-2 tsp | Signature color | Gel coloring works better |
| Mini chocolate chips | 1 cup | Mix-in texture | Reserve some for stuffing |
| Mini marshmallows | ½ cup | Stuffing component | Don’t overstuff |
The magic happens when these ingredients come together in the right proportions. I’ve learned that room temperature ingredients blend more easily, creating a smoother dough that holds its shape during baking.
Step-by-Step Preparation Method
My approach to these cookies follows a methodical process that ensures consistent results every time. Here’s how I create these showstopping treats:
Preparation Phase:
- Preheat oven to 350°F (175°C)
- Line baking sheets with parchment paper
- Measure all ingredients accurately
- Bring butter and eggs to room temperature
Dough Creation:
- Cream butter with both sugars until light and fluffy (3-4 minutes)
- Beat in eggs one at a time, then vanilla extract
- Gradually add blue food coloring until desired shade is achieved
- In separate bowl, whisk together flour, baking soda, and salt
- Slowly incorporate dry ingredients into wet mixture
- Fold in ¾ cup chocolate chips, reserving remainder for stuffing
Assembly Process:
- Scoop large portions of dough (about ¼ cup each)
- Flatten each portion in your palm
- Place stuffing mixture in center (chocolate chips, marshmallows)
- Wrap dough around stuffing, sealing edges completely
- Place on prepared baking sheets, spacing 3 inches apart

Baking Technique:
- Bake for 10-12 minutes until edges are set but centers appear slightly underdone
- Allow cookies to cool on baking sheet for 5 minutes before transferring
- Complete cooling on wire racks
The timing here is crucial. I’ve found that slightly underbaking creates that perfect chewy texture that makes these cookies irresistible.
Stuffing Variations and Combinations
One of the most exciting aspects of Big Blue Monster Cookies is experimenting with different stuffing combinations. Over the years, I’ve developed several favorite variations that never fail to impress.
| Stuffing Type | Ingredients | Flavor Profile | Baking Notes |
|---|---|---|---|
| Classic Monster | Mini chocolate chips, marshmallows | Sweet, gooey center | Most popular combination |
| Cookies & Cream | Crushed Oreos, white chocolate chips | Creamy, crunchy contrast | Crush cookies coarsely |
| Peanut Butter Blast | Mini peanut butter cups, chocolate chips | Rich, nutty flavor | Check for allergies |
| Caramel Surprise | Soft caramel squares, sea salt | Sweet-salty balance | Use small caramel pieces |
| Birthday Cake | Funfetti cake mix, white chocolate | Celebratory flavor | Add extra sprinkles on top |
| S’mores Style | Graham cracker pieces, marshmallows, chocolate | Campfire nostalgia | Break crackers into small pieces |
My personal favorite remains the classic combination, but I encourage experimentation based on your preferences and occasion. The key is maintaining proper ratios – too much stuffing can cause structural issues during baking.
Technical Baking Considerations
Creating consistently perfect Big Blue Monster Cookies requires attention to several technical aspects that I’ve learned through trial and error.
Temperature Control: The oven temperature needs to be precise. Too hot, and the exterior sets before the stuffing can properly meld with the dough. Too cool, and the cookies spread excessively without developing proper texture.
Dough Consistency: The blue food coloring can affect dough hydration. I’ve found that gel food coloring works better than liquid, as it provides vibrant color without adding excess moisture that could compromise texture.
Stuffing Distribution: Proper stuffing technique prevents leakage during baking. I ensure the dough completely encloses the filling and gently press the seam to create a secure seal.
Cooling Process: The cooling process is just as important as the baking itself. Allowing cookies to rest on the hot baking sheet for several minutes lets them finish cooking through residual heat while maintaining structural integrity.
Nutritional Information and Serving Suggestions
Understanding the nutritional content helps with portion planning, especially when serving these indulgent treats at gatherings.
| Nutritional Component | Per Cookie (Large) | Daily Value % |
|---|---|---|
| Calories | 285 | 14% |
| Total Fat | 12g | 18% |
| Saturated Fat | 7g | 35% |
| Cholesterol | 35mg | 12% |
| Sodium | 245mg | 11% |
| Total Carbs | 43g | 16% |
| Dietary Fiber | 2g | 7% |
| Sugars | 28g | – |
| Protein | 4g | 8% |
Serving Suggestions:
- Pair with cold milk for the classic cookie experience
- Serve alongside vanilla ice cream for an elevated dessert
- Package individually for party favors or lunch box treats
- Crumble over yogurt for a breakfast indulgence
- Warm slightly and serve with hot cocoa on cold days
These cookies shine brightest when shared. I often make them for school events, office gatherings, and family celebrations where their impressive size and playful appearance never fail to generate excitement.
Storage and Preservation Tips
Proper storage ensures your Big Blue Monster Cookies maintain their optimal texture and flavor for days after baking.
Short-term Storage (1-3 days): Store in airtight containers at room temperature. I place parchment paper between layers to prevent sticking and maintain the cookies’ shape.
Medium-term Storage (1 week): Refrigerate in sealed containers. Allow cookies to come to room temperature before serving for best texture.
Long-term Storage (1-3 months): Freeze individual cookies wrapped in plastic wrap, then place in freezer bags. Thaw at room temperature for 30 minutes before serving.
Dough Storage: Unbaked dough balls can be frozen for up to three months. Bake directly from frozen, adding 1-2 additional minutes to baking time.
Troubleshooting Common Issues
Through my extensive experience making these cookies, I’ve encountered and solved numerous common problems that home bakers face.
Problem: Cookies spread too much Solution: Chill dough for 30 minutes before baking, ensure butter isn’t too warm, check oven temperature accuracy
Problem: Stuffing leaks out Solution: Use less filling, seal edges more thoroughly, avoid overstuffing
Problem: Uneven blue color Solution: Mix food coloring completely into butter-sugar mixture before adding other ingredients
Problem: Cookies too hard Solution: Don’t overbake, check oven temperature, ensure proper butter temperature during mixing
Problem: Centers too gooey Solution: Increase baking time by 1-2 minutes, ensure oven is fully preheated
Creative Presentation Ideas
The visual appeal of Big Blue Monster Cookies makes them perfect for creative presentation at special events and gatherings.
I’ve discovered several presentation techniques that elevate these cookies from simple treats to memorable centerpieces:
Cookie Platters: Arrange cookies on colorful platters with complementary decorations like plastic googly eyes or cookie monster figurines
Gift Packaging: Individual cookies wrapped in clear cellophane bags with colorful ribbons make excellent party favors
Dessert Buffets: Create height variation by using cake stands and tiered serving pieces
Interactive Stations: Set up a “build your own” stuffing station where guests can customize their cookies before baking
Seasonal Adaptations
While the classic blue monster theme works year-round, I’ve developed seasonal variations that maintain the cookie’s essential character while incorporating timely elements.
Halloween Version: Add orange food coloring alongside blue for a spooky purple hue, stuff with candy corn and mini chocolate bars
Christmas Edition: Create red and green versions, stuff with peppermint bark pieces and white chocolate chips
Spring Celebration: Use pastel blue coloring, stuff with mini eggs and colorful sprinkles
Summer Fun: Add coconut flakes to the dough, stuff with tropical fruit pieces and white chocolate
Questions and Answers
Q. Can I make these cookies without food coloring? Absolutely! The cookies taste just as delicious without the blue coloring. You’ll have classic monster cookies that are equally impressive in size and stuffing variety.
Q. What’s the best way to achieve even blue coloring throughout the dough? I recommend using gel food coloring and adding it gradually to the butter-sugar mixture. This ensures even distribution before incorporating other ingredients that might make mixing more difficult.
Q. Can I substitute ingredients for dietary restrictions? Yes, several substitutions work well. Use gluten-free flour for celiac needs, coconut oil instead of butter for dairy-free versions, and egg replacer for vegan adaptations. The texture may vary slightly, but the cookies remain delicious.
Q. How do I prevent the stuffing from making the cookies too sweet? Balance is key. I often use a combination of sweet and less-sweet elements like adding a pinch of sea salt to caramel stuffing or including some darker chocolate chips to offset the sweetness of marshmallows.
Q. Can these cookies be made smaller for portion control? Certainly! Reduce the dough portions to about 2 tablespoons each and adjust the stuffing accordingly. Baking time will decrease to 8-10 minutes.
Q. What’s the secret to getting that perfect chewy texture? The combination of brown sugar for moisture, proper butter temperature during mixing, and slightly underbaking creates that ideal chewy texture. Don’t overbake – the centers should look slightly underdone when you remove them from the oven.
Q. How far in advance can I prepare these for a party? I recommend baking them no more than 2 days before serving for optimal freshness. However, you can prepare and freeze the dough balls up to a month in advance, then bake fresh the day of your event.
Q. Why do my cookies sometimes crack during baking? Cracking usually occurs when the dough is too cold going into the oven or when there’s insufficient moisture. Ensure your dough is at proper room temperature and that you haven’t added too much flour.
Creating Big Blue Monster Stuffed Cookies has become one of my favorite baking adventures. These treats combine nostalgia, creativity, and delicious flavors in a way that brings joy to both the baker and everyone who gets to enjoy them. The process might seem involved at first, but once you master the technique, you’ll find yourself reaching for this recipe whenever you want to create something truly special.
The beauty of these cookies lies not just in their impressive appearance, but in their ability to bring people together. I’ve watched children’s faces light up when they see these vibrant blue treats, and I’ve seen adults transported back to their own childhood memories. That’s the true magic of baking – creating moments that matter through food made with love and creativity.