I’ve been baking cookies for over fifteen years, and let me tell you, nothing gets kids (and adults!) more excited than these vibrant Big Blue Monster Stuffed Cookies. These aren’t your ordinary chocolate chip cookies – they’re towering, colorful masterpieces that combine the fun of monster cookies with the indulgent surprise of a gooey center filling.
What makes these cookies absolutely irresistible is their playful appearance and the delightful surprise waiting inside each bite. I stumbled upon this recipe while trying to recreate my daughter’s favorite bakery treat at home, and after months of perfecting the technique, I’m thrilled to share my foolproof method with you.
What Are Big Blue Monster Stuffed Cookies?
Monster Cookies: Oversized cookies typically loaded with mix-ins like chocolate chips, candies, and sometimes oats or peanut butter, known for their chunky, textured appearance.
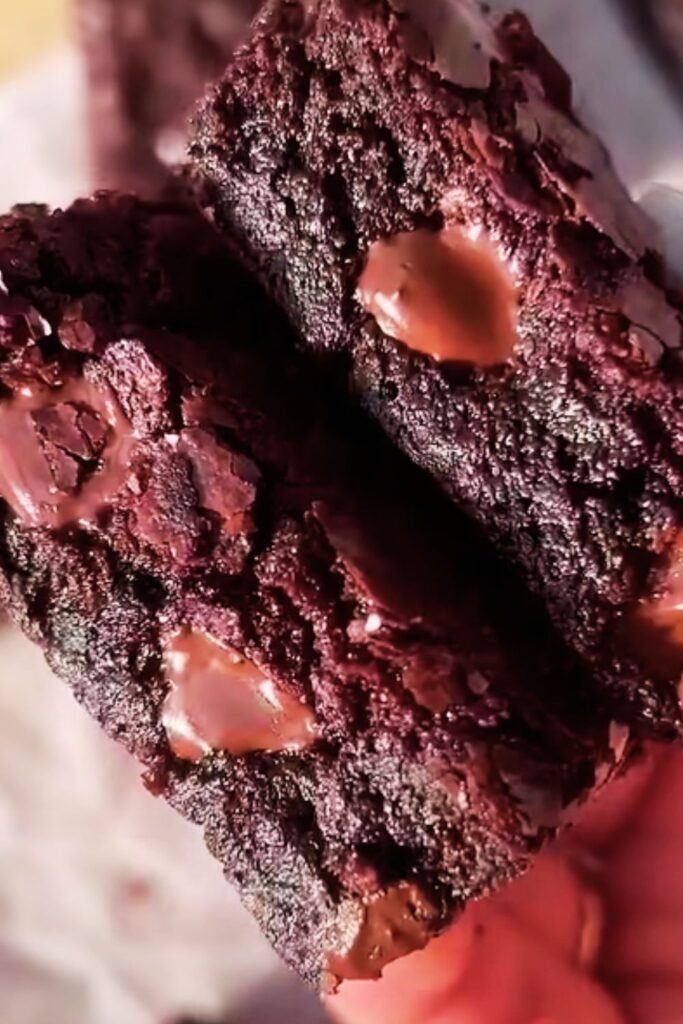
Stuffed Cookies: Cookies with a filling baked directly inside the dough, creating a surprise center that oozes out when bitten or broken open.
Blue Food Coloring: Gel-based coloring agents that provide vibrant hues without affecting the cookie’s texture or taste significantly.
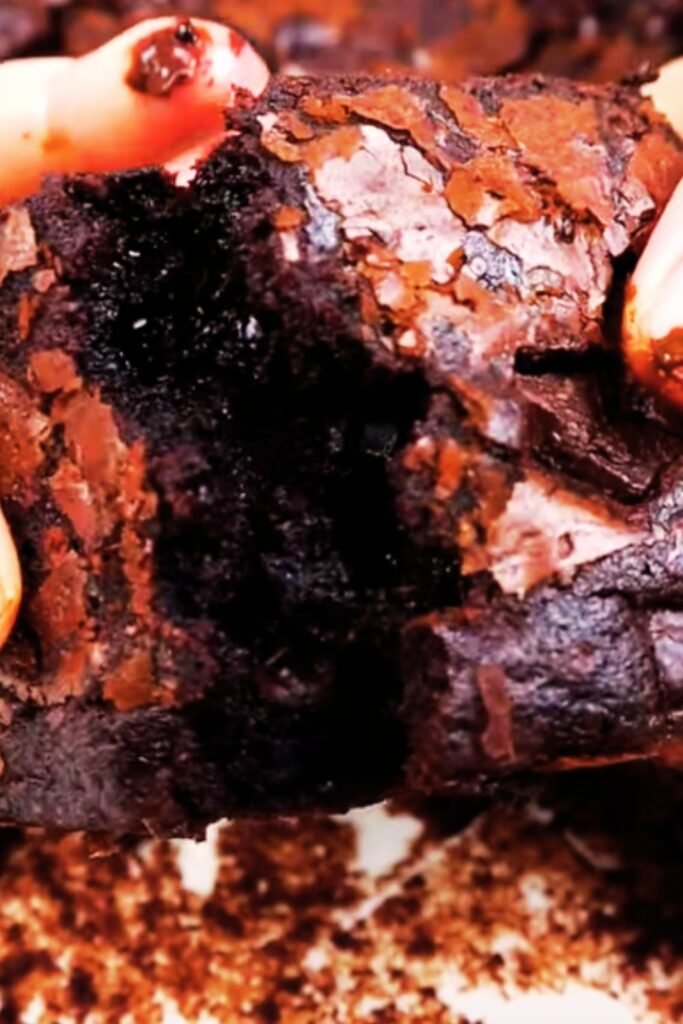
Cookie Stuffing: The gooey center filling, which can range from chocolate ganache to caramel, marshmallow fluff, or cream cheese mixtures.
These cookies get their “monster” designation from their wild, untamed appearance – think Cookie Monster from Sesame Street meets your favorite stuffed cookie. The blue coloring gives them that signature monster look, while the stuffed center adds an element of surprise that makes every bite an adventure.
Essential Ingredients Breakdown
Creating the perfect Big Blue Monster Stuffed Cookies requires understanding each ingredient’s role in both flavor and structure. I’ve learned through countless batches that ingredient quality makes a tremendous difference in the final result.
Cookie Base Components
| Ingredient | Purpose | My Preferred Brand/Type | Substitution Notes |
|---|---|---|---|
| All-purpose flour | Structure and texture | King Arthur or Gold Medal | Can use bread flour for chewier texture |
| Butter | Flavor and tenderness | European-style unsalted | Margarine works but affects taste |
| Brown sugar | Moisture and chewiness | Dark brown for deeper flavor | Light brown acceptable |
| Granulated sugar | Sweetness and spread | Pure cane sugar | Regular white sugar fine |
| Eggs | Binding and richness | Large, room temperature | Flax eggs for vegan option |
| Vanilla extract | Flavor enhancement | Pure vanilla only | Imitation lacks depth |
| Baking soda | Leavening | Fresh (replace every 6 months) | Baking powder won’t work |
| Salt | Flavor balance | Sea salt or kosher | Table salt acceptable |
| Blue food coloring | Signature color | Gel-based preferred | Liquid works but may thin dough |
Monster Mix-ins
The beauty of monster cookies lies in their chaotic mix of textures and flavors. I’ve experimented with dozens of combinations, and here’s what works best:
- Mini chocolate chips: Provide consistent chocolate flavor without overwhelming the dough
- White chocolate chips: Add sweetness and visual contrast against the blue
- Mini marshmallows: Create pockets of gooey sweetness when baked
- Crushed vanilla wafers: Add unexpected crunch and vanilla flavor
- Sprinkles: Rainbow or blue-themed for extra visual appeal
- Pretzel pieces: Salty crunch that balances the sweetness
Stuffing Options
The stuffing is where these cookies truly shine. I’ve tried numerous fillings, and these are my top performers:
Chocolate Ganache Stuffing (My personal favorite):
- Heavy cream: 1/2 cup
- Dark chocolate chips: 1 cup
- Butter: 2 tablespoons
Marshmallow Fluff Center:
- Marshmallow fluff: 1 cup
- Cream cheese: 4 oz, softened
- Powdered sugar: 1/2 cup
Caramel Cookie Butter:
- Cookie butter spread: 3/4 cup
- Caramel sauce: 1/4 cup
- Pinch of sea salt
My Foolproof Recipe
This recipe yields approximately 18 large stuffed cookies. I always make extra because they disappear quickly!
Cookie Dough Instructions
Step 1: Preparation Phase I always start by bringing my eggs and butter to room temperature – this ensures even mixing and prevents the dough from becoming too stiff. Preheat your oven to 350°F and line baking sheets with parchment paper.
Step 2: Cream Butter and Sugars In my stand mixer fitted with the paddle attachment, I cream together 1 cup of softened butter, 3/4 cup brown sugar, and 1/2 cup granulated sugar for exactly 3 minutes. The mixture should be light and fluffy, not just combined.
Step 3: Add Wet Ingredients Beat in 2 large eggs one at a time, followed by 2 teaspoons of vanilla extract. Here’s where I add my blue food coloring – start with just a few drops and gradually add more until you achieve that vibrant monster blue.
Step 4: Incorporate Dry Ingredients In a separate bowl, whisk together 2 1/4 cups all-purpose flour, 1 teaspoon baking soda, and 1 teaspoon salt. Add this to the wet ingredients on low speed, mixing just until combined. Overmixing leads to tough cookies.
Step 5: Fold in Mix-ins This is where the magic happens. I fold in:
- 1 cup mini chocolate chips
- 1/2 cup white chocolate chips
- 1/2 cup mini marshmallows
- 1/2 cup crushed vanilla wafers
- 1/4 cup colorful sprinkles
Assembly Technique
The stuffing process requires patience, but the results are worth every minute. I’ve developed a technique that ensures the filling stays contained during baking.
Portion Control: Using a large cookie scoop, I portion the dough into golf ball-sized pieces. Each cookie needs enough dough to wrap around the filling completely.
Create the Pocket: I flatten each dough ball and create a shallow well in the center using my thumb. The well should be deep enough to hold about a tablespoon of filling.
Add the Filling: Spoon your chosen filling into the center, being careful not to overfill. Less is more here – too much filling will cause the cookies to burst open during baking.
Seal the Deal: I take another portion of dough and carefully stretch it over the filling, pinching the edges together to create a seal. Roll gently between your palms to smooth the surface.
Baking Perfection Tips
After hundreds of batches, I’ve identified the key factors that separate good stuffed cookies from extraordinary ones.
Temperature and Timing Guidelines
| Cookie Size | Baking Temperature | Baking Time | Cooling Time |
|---|---|---|---|
| Large (4+ inches) | 350°F | 12-14 minutes | 10 minutes on pan |
| Medium (3 inches) | 350°F | 10-12 minutes | 8 minutes on pan |
| Small (2 inches) | 350°F | 8-10 minutes | 5 minutes on pan |
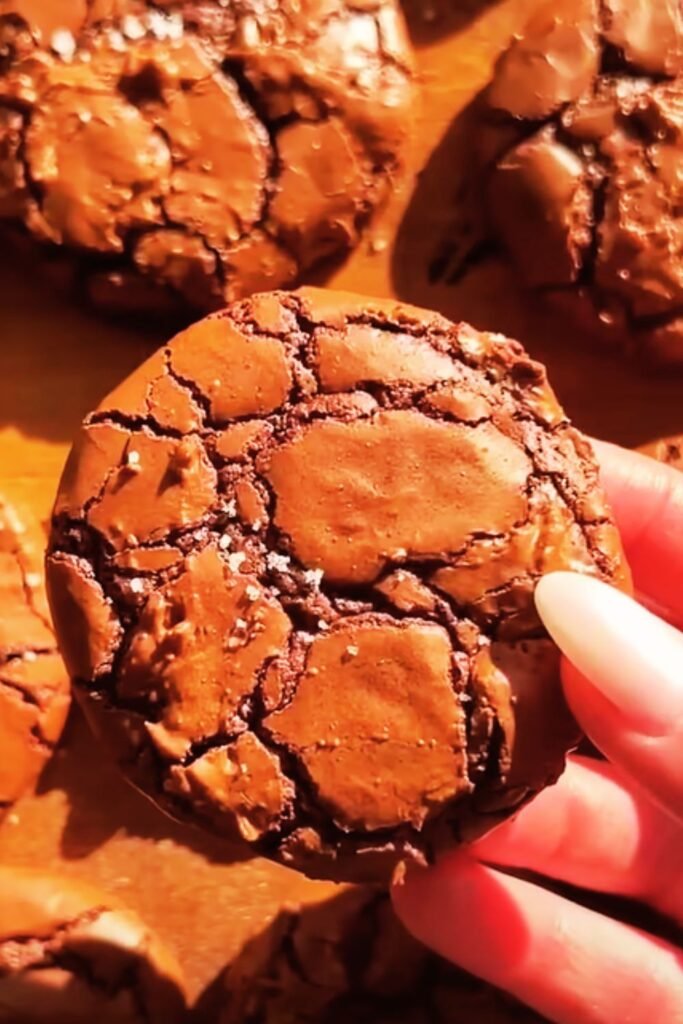
Visual Cues for Doneness
I never rely solely on timing – the cookies tell me when they’re ready:
- Edges: Set but not hard, with a slight golden tinge
- Centers: Still soft and slightly underbaked looking
- Color: The blue should be vibrant but not darkened
- Spread: Cookies should have spread slightly but maintained their shape
Common Baking Mistakes I’ve Made (So You Don’t Have To)
Overfilling: My first attempts were disasters because I packed too much filling into each cookie. They exploded in the oven, creating a gooey mess.
Underbaking: Worried about the filling, I initially underbaked these cookies. They ended up gummy and unpleasant.
Wrong Pan Placement: I learned that the middle rack produces the most even results. Too high and the tops brown before the bottoms cook; too low and you get soggy bottoms.
Crowding: These cookies need space to spread. I place only 6 large cookies per standard baking sheet.
Troubleshooting Guide
Even experienced bakers encounter issues. Here’s how I solve the most common problems:
Filling Leakage Solutions
Problem: Filling oozes out during baking My Solution: Ensure your filling is thick enough and not too warm. I often chill the assembled cookies for 15 minutes before baking.
Problem: Dough cracks around the filling My Solution: The dough might be too cold or dry. Let it come to room temperature, or add a tablespoon of milk.
Texture Issues
Problem: Cookies spread too much My Solution: Chill the dough for 30 minutes before baking, or add 2-3 extra tablespoons of flour.
Problem: Cookies are too dense My Solution: Don’t overmix the dough, and ensure your baking soda is fresh.
Color Concerns
Problem: Blue color fades during baking My Solution: Use gel food coloring instead of liquid, and add it gradually until you achieve a vibrant color that will maintain its intensity when baked.
Storage and Serving Suggestions
These cookies are best enjoyed fresh, but I’ve developed storage methods that maintain their quality for days.
Short-term Storage (1-3 Days)
I store cooled cookies in an airtight container at room temperature with a slice of bread. The bread maintains moisture without making the cookies soggy. Replace the bread slice every two days.
Long-term Storage (Up to 2 Weeks)
For longer storage, I wrap individual cookies in plastic wrap and place them in a freezer-safe container. They thaw beautifully at room temperature in about 30 minutes.
Serving Ideas
Birthday Parties: These cookies are showstoppers at children’s parties. I arrange them on colorful plates with milk in matching cups.
School Events: Pack them individually wrapped for easy distribution and mess-free eating.
Gift Giving: Bundle them in clear cellophane bags tied with colorful ribbons – they make memorable homemade gifts.
Ice Cream Sandwiches: Slice them horizontally and fill with vanilla ice cream for an extra special treat.
Nutritional Information and Modifications
While these are indulgent treats, I believe in transparency about their nutritional content.
Per Cookie Nutritional Breakdown
| Nutrient | Amount | % Daily Value |
|---|---|---|
| Calories | 285 | 14% |
| Total Fat | 12g | 15% |
| Saturated Fat | 7g | 35% |
| Cholesterol | 35mg | 12% |
| Sodium | 180mg | 8% |
| Total Carbs | 42g | 15% |
| Sugars | 28g | – |
| Protein | 4g | 8% |
Dietary Modifications I’ve Successfully Tested
Gluten-Free Version: Replace all-purpose flour with a 1:1 gluten-free baking blend. Bob’s Red Mill works excellently.
Reduced Sugar: Cut sugar by 1/4 cup and add 2 tablespoons of unsweetened applesauce for moisture.
Dairy-Free: Use vegan butter and ensure your chocolate chips are dairy-free. The texture remains remarkably similar.
Questions & Answers
Q. How far in advance can I make the cookie dough? I often prepare the dough up to 3 days ahead and store it covered in the refrigerator. Let it come to room temperature before shaping and baking for the best results.
Q. Can I freeze the unbaked stuffed cookies? Absolutely! I freeze them on baking sheets until solid, then transfer to freezer bags. Bake directly from frozen, adding 2-3 extra minutes to the baking time.
Q. What’s the secret to keeping the filling from leaking out? The key is ensuring your dough completely encases the filling with no thin spots. I pinch the seams firmly and roll the cookie gently to seal any potential weak points.
Q. Why do my cookies turn out flat instead of thick? This usually happens when the butter is too warm or the dough is overmixed. Make sure your butter is just softened, not melted, and mix only until ingredients are combined.
Q. Can I use liquid food coloring instead of gel? You can, but gel coloring gives much better results. Liquid coloring can thin the dough and make the color less vibrant. If using liquid, reduce other liquids slightly.
Q. How do I know when the stuffed cookies are done baking? Look for edges that are set but centers that still appear slightly underbaked. They’ll continue cooking on the hot pan after removal from the oven.
Q. Can I make mini versions of these cookies? Yes! Use smaller portions of dough and reduce the filling to about 1/2 teaspoon per cookie. Bake for 8-10 minutes at the same temperature.
Q. What’s the best way to transport these cookies? I use containers with tight-fitting lids and place parchment paper between layers. For very fresh cookies, I let them cool completely before stacking to prevent sticking.
These Big Blue Monster Stuffed Cookies have become my signature treat, bringing smiles to everyone who tries them. The combination of vibrant color, playful mix-ins, and surprise filling creates an unforgettable cookie experience. Whether you’re baking for a special occasion or just want to brighten someone’s day, these cookies deliver pure joy in every bite.
The beauty of this recipe lies in its adaptability – feel free to experiment with different mix-ins, fillings, and even colors to create your own monster cookie variations. Happy baking!