When I first laid eyes on a towering Black Forest cake in a German bakery years ago, I knew I had to master this magnificent dessert. The Mile-High Black Forest Cake isn’t just a dessert—it’s an experience that combines rich chocolate, tart cherries, and billowy whipped cream into something truly spectacular. Today, I’m sharing my perfected recipe that will have your guests absolutely mesmerized.
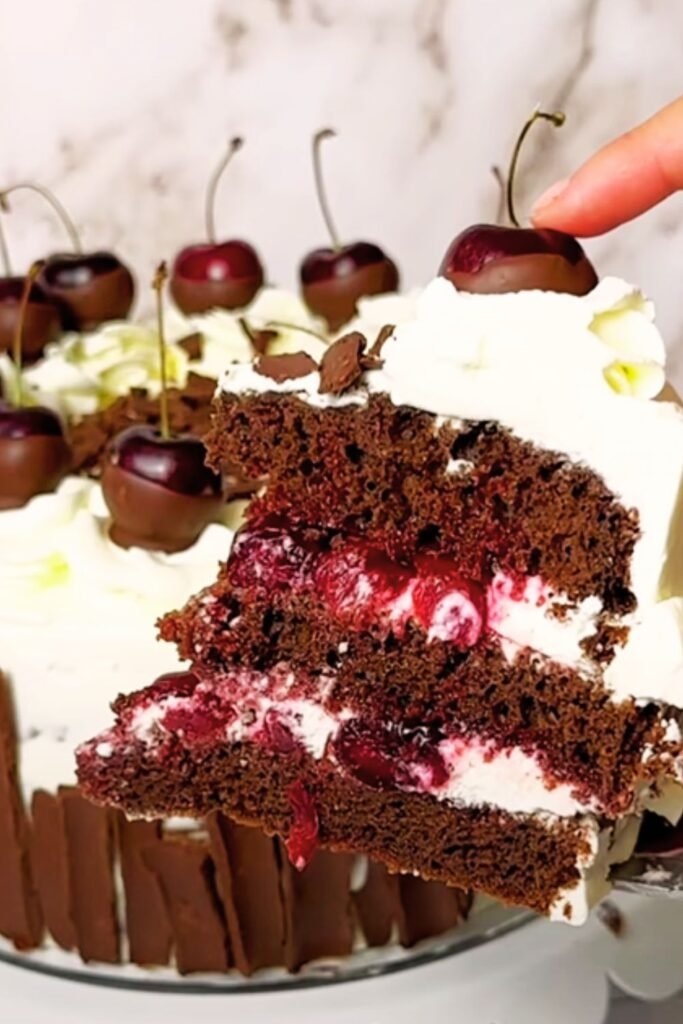
This isn’t your average cake recipe. We’re talking about multiple layers of moist chocolate sponge, soaked with cherry syrup, layered with fresh whipped cream, and studded with juicy cherries. The result? A cake that literally reaches for the sky and delivers flavors that dance on your palate.
Understanding the Black Forest Cake Foundation
Schwarzwälder Kirschtorte : The original German name for Black Forest cake, translating to “Black Forest Cherry Torte,” named after the Black Forest region of Germany
Kirsch : A clear cherry brandy traditionally used to soak the cake layers, though we’ll explore non-alcoholic alternatives
Genoise Sponge : A light, airy cake base that’s perfect for absorbing flavors while maintaining structure
Stabilized Whipped Cream : Cream that’s been enhanced with gelatin or cornstarch to hold its shape in multi-layer constructions
The beauty of a Mile-High Black Forest Cake lies in its architectural precision. Each layer must be perfectly balanced to support the towering structure while delivering maximum flavor impact.
Essential Ingredients Breakdown
Creating the perfect Mile-High Black Forest Cake requires understanding each component’s role in the final masterpiece. I’ve spent countless hours perfecting these ratios, and I’m excited to share what I’ve learned.
Cake Components
| Ingredient | Quantity | Purpose | Pro Tips |
|---|---|---|---|
| All-purpose flour | 2 cups | Structure base | Sift twice for ultra-fine texture |
| Unsweetened cocoa powder | 3/4 cup | Deep chocolate flavor | Use Dutch-processed for richer color |
| Granulated sugar | 1 3/4 cups | Sweetness and moisture | Superfine sugar dissolves better |
| Eggs | 6 large | Binding and leavening | Room temperature eggs whip better |
| Unsalted butter | 1/2 cup | Richness and texture | European-style butter adds depth |
| Buttermilk | 1 cup | Tanginess and tenderness | Fresh is always better than powder |
Filling and Assembly Elements
| Component | Quantity | Quality Markers | Storage Notes |
|---|---|---|---|
| Heavy cream | 3 cups | 35-40% fat content | Keep cold until ready to whip |
| Powdered sugar | 1/2 cup | Ultra-fine texture | Sift to prevent lumps |
| Vanilla extract | 2 teaspoons | Pure, not imitation | Madagascar vanilla preferred |
| Fresh or frozen cherries | 2 pounds | Deep red color, firm texture | Thaw and drain if frozen |
| Cherry juice | 1 cup | 100% juice, no added sugar | Concentrate works well diluted |
| Unflavored gelatin | 1 packet | Bloom properly before use | Essential for stability |
The Mile-High Construction Method
My approach to building this towering beauty involves careful planning and precise execution. I’ve learned that patience truly pays off with this recipe.
Preparing the Chocolate Sponge Layers
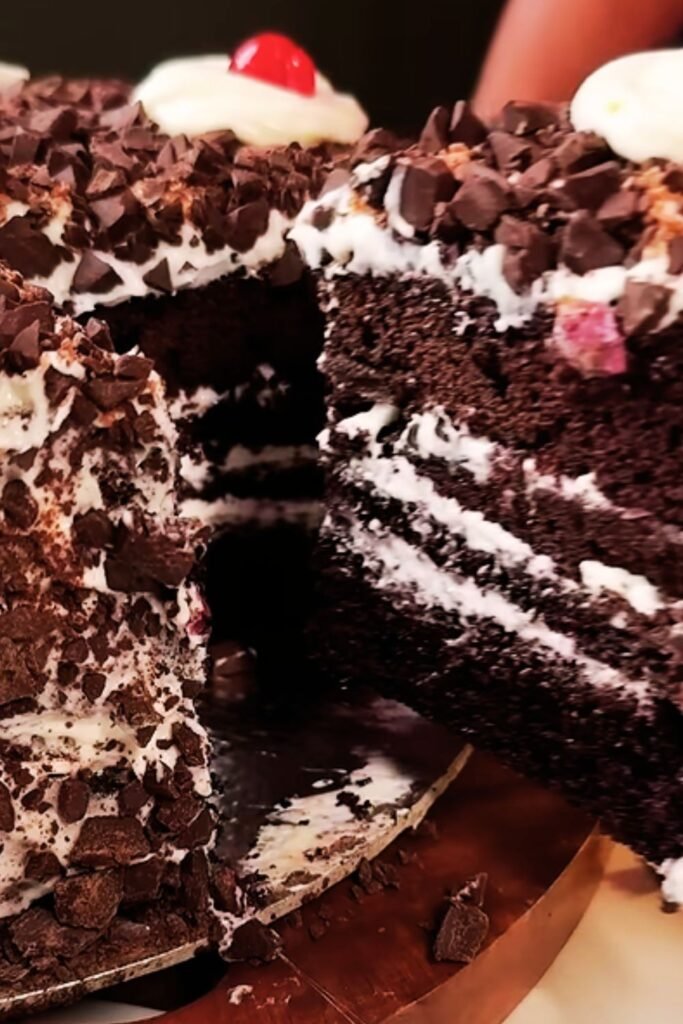
The foundation of any great Black Forest cake starts with perfectly baked chocolate sponge layers. I always bake four thin layers rather than two thick ones—this creates more opportunities for flavor infusion and makes the final assembly more stable.
First, I prepare my pans meticulously. Three 9-inch round pans, lined with parchment paper and lightly greased, ensure even baking and easy release. The oven temperature is crucial here—325°F gives us the gentle heat needed for even rising without tough edges.
My mixing technique follows a specific order that I’ve refined over years of baking. I cream the butter and sugar until truly fluffy—not just combined, but actually light and airy. This takes about 5 minutes with a stand mixer. Then eggs go in one at a time, fully incorporating each before adding the next.
The dry ingredients get sifted together three times. Yes, three times. This creates an incredibly light flour mixture that prevents dense spots in the final cake. I alternate adding the dry ingredients and buttermilk, beginning and ending with flour mixture.
Creating the Perfect Cherry Component
The cherry element separates good Black Forest cakes from extraordinary ones. I use a combination of fresh cherries and a concentrated cherry syrup that penetrates every layer.
For the cherries themselves, I prefer a mix of sweet and tart varieties. Bing cherries provide beautiful color and sweetness, while Montmorency cherries add the perfect tartness. I pit them carefully, reserving every drop of juice.
The cherry syrup becomes our cake’s secret weapon. I simmer cherry juice with a touch of sugar and a hint of vanilla until it reduces by half. This concentrated flavor bomb will soak into our cake layers, creating bursts of cherry flavor in every bite.
Mastering Stabilized Whipped Cream
Regular whipped cream simply won’t hold up in a towering cake. I’ve perfected a stabilized version that maintains its shape for days while still tasting light and fresh.
My stabilization method uses unflavored gelatin—it’s flavorless and creates the perfect texture. I bloom the gelatin in cold water first, then dissolve it completely in a small amount of hot cream before cooling and adding to the remaining cream.
The whipping process requires attention. I start slowly, gradually increasing speed as the cream thickens. The goal is soft peaks that hold their shape but aren’t stiff or grainy.
Assembly Techniques for Maximum Height
Building a Mile-High Black Forest Cake is like constructing a delicious skyscraper. Each layer must support the next while contributing to the overall flavor profile.
I start with a completely cooled cake layer on my serving plate. Using a pastry brush, I generously apply cherry syrup—the cake should absorb it readily without becoming soggy. Then comes a layer of stabilized whipped cream, spread evenly with an offset spatula.
The cherry distribution requires strategy. I create small wells in the cream and nestle cherries into them, ensuring even distribution without overloading any section. This prevents the cherries from creating weak spots that could cause structural failure.
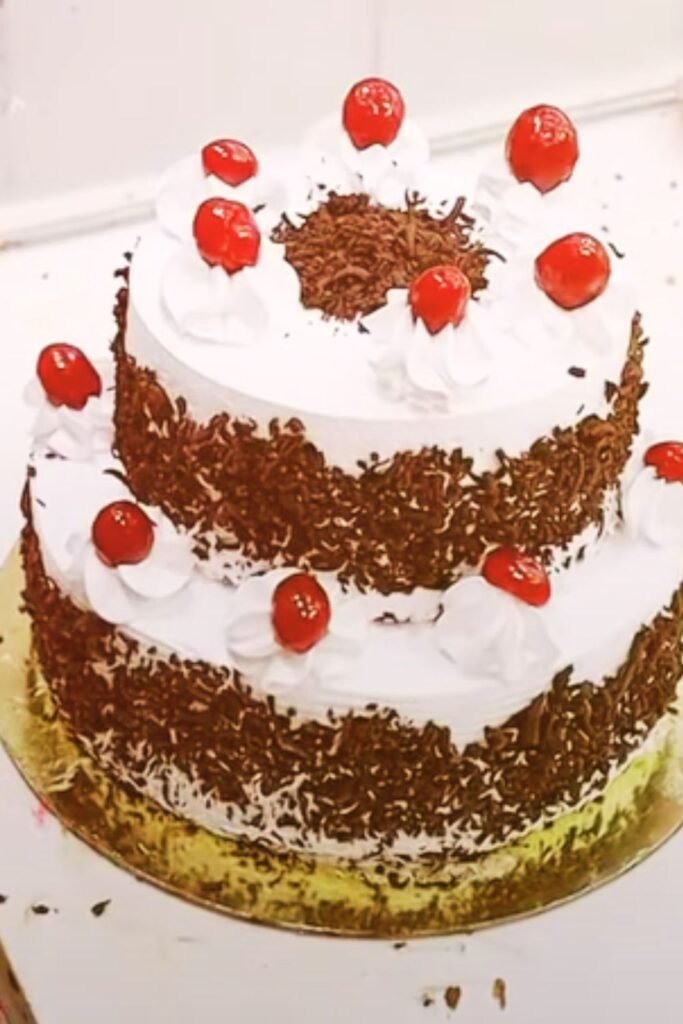
Each subsequent layer follows the same pattern: syrup, cream, cherries. The top layer gets extra attention—I pipe decorative rosettes of cream and top with the most beautiful cherries, plus chocolate shavings for the classic Black Forest appearance.
Troubleshooting Common Mile-High Challenges
Structural Integrity Issues
Leaning towers: Usually caused by uneven layers or insufficient cooling time between assembly steps Cream sliding: Indicates under-stabilized cream or too-warm assembly environment Soggy bottoms: Result of over-soaking with syrup or insufficient drainage of cherry juices
Flavor Balance Problems
Overly sweet: Reduce sugar in cream or increase tart cherry ratio Lacking cherry flavor: Concentrate the cherry syrup more or add cherry extract Dense cake texture: Often from overmixing batter or incorrect oven temperature
Nutritional Information and Dietary Considerations
| Nutrient | Per Slice (1/12 cake) | Daily Value % |
|---|---|---|
| Calories | 485 | 24% |
| Total Fat | 28g | 43% |
| Saturated Fat | 17g | 85% |
| Cholesterol | 145mg | 48% |
| Sodium | 285mg | 12% |
| Total Carbohydrates | 58g | 21% |
| Dietary Fiber | 4g | 14% |
| Sugars | 48g | – |
| Protein | 7g | 14% |
Dietary Modifications
Gluten-Free Version: Substitute flour with a 1:1 gluten-free baking blend plus 1 teaspoon xanthan gum Reduced Sugar: Use sugar substitute in cream layer, reduce cake sugar by 1/3 Dairy-Free Option: Coconut cream can replace heavy cream, though stabilization methods differ
Storage and Serving Guidelines
Proper storage ensures your Mile-High Black Forest Cake maintains its impressive appearance and delicious taste. I recommend assembling the cake no more than 24 hours before serving for optimal texture and flavor.
The assembled cake should be refrigerated, covered with a cake dome or loose plastic wrap that doesn’t touch the surface. The cold temperature helps maintain the cream’s stability and prevents the cherries from releasing excess juice.
For serving, I always use a sharp, thin knife dipped in warm water between cuts. This prevents dragging the cream layers and ensures clean, beautiful slices that showcase all the gorgeous layers.
Seasonal Variations and Flavor Adaptations
While traditional Black Forest cake is perfection, I love experimenting with seasonal variations that maintain the basic structure while offering new flavor experiences.
Spring Version: Substitute cherries with fresh strawberries and add a hint of rosewater to the cream Summer Twist: Mixed berry medley with berry-infused syrup Fall Adaptation: Spiced cake layers with apple-cherry combination Winter Special: Add cinnamon to the cake and use dried cherries rehydrated in warm spices
Professional Presentation Tips
The visual impact of a Mile-High Black Forest Cake can be enhanced with professional presentation techniques I’ve learned from working with pastry chefs.
Chocolate shavings should be made with a vegetable peeler from a room-temperature chocolate bar. This creates natural-looking curls that catch light beautifully. I sprinkle these generously over the top and around the base of the cake.
Fresh cherry garnishes should be stems-on when possible, arranged in clusters for visual appeal. A light dusting of powdered sugar just before serving adds an elegant finishing touch.
The serving plate matters too. I prefer a simple white or clear glass pedestal that doesn’t compete with the cake’s natural beauty but elevates it literally and figuratively.
Frequently Asked Questions
Q: How far in advance can I make this cake? I recommend assembling the Mile-High Black Forest Cake no more than 24 hours before serving. The cake layers