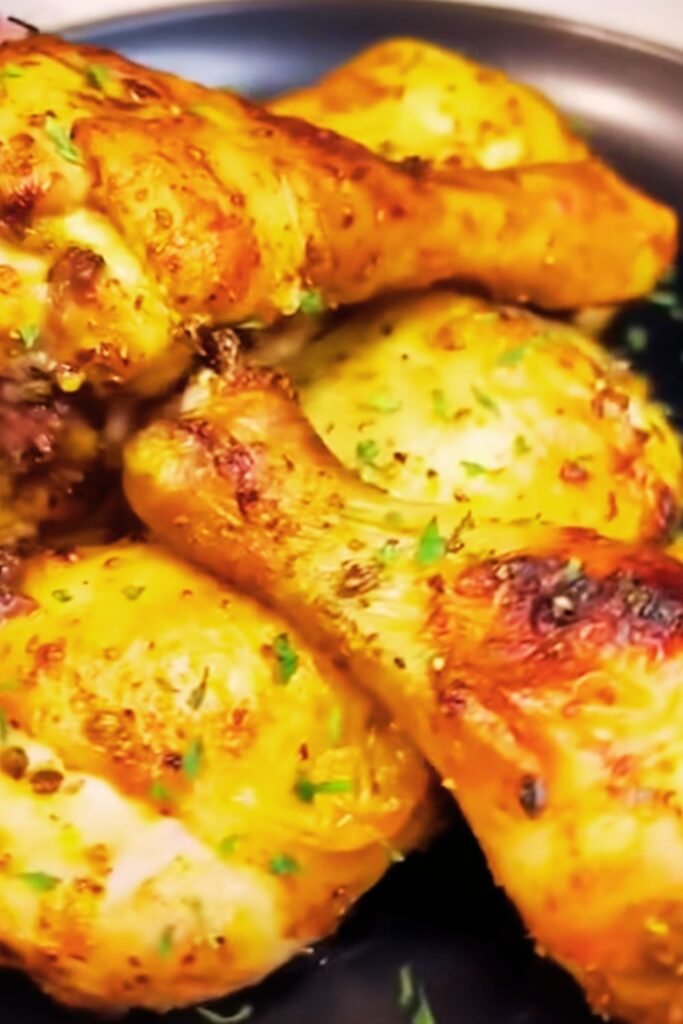
There’s something magical about biting into a perfectly cooked chicken drumstick – that satisfying crunch of golden skin giving way to tender, juicy meat that practically falls off the bone. I’ve been perfecting my air fryer chicken leg technique for years, and I’m excited to share everything I’ve learned with you.
When I first got my air fryer, I was skeptical about whether it could deliver the same crispy results as traditional frying or roasting. But after countless experiments and tweaks, I can confidently say that air fryer chicken legs are not just as good – they’re often better. The circulating hot air creates an incredibly crispy exterior while keeping the meat moist and flavorful inside, all while using significantly less oil than traditional methods.
Why Air Fryer Chicken Legs Are Game-Changers
Air frying has revolutionized how I approach cooking chicken drumsticks. The rapid air circulation technology creates a convection effect that crisps the skin beautifully while sealing in all those delicious juices. Unlike deep frying, which can sometimes result in greasy, heavy chicken, air frying produces remarkably clean, crispy results.
Convenience: Air fryers are incredibly user-friendly Health Benefits: Uses up to 75% less oil than traditional frying Speed: Cooks faster than conventional oven methods Consistency: Even cooking throughout with minimal effort Versatility: Works with countless seasoning combinations
Essential Equipment and Ingredients
Equipment Needed
Before we dive into the cooking process, let me walk you through what you’ll need for perfect air fryer chicken legs:
Air Fryer: Any model with at least 3.5-quart capacity works well Meat Thermometer: Essential for food safety and perfect doneness Tongs: For safe handling and flipping Paper Towels: For patting chicken dry Mixing Bowl: For seasoning preparation
Core Ingredients
The beauty of air fryer chicken legs lies in their simplicity. Here’s what I always keep on hand:
Chicken Drumsticks: 6-8 pieces, preferably organic or free-range Olive Oil: 1-2 tablespoons for moisture and crispiness Salt: 1 teaspoon of kosher salt Black Pepper: 1/2 teaspoon freshly ground Garlic Powder: 1 teaspoon for depth of flavor Paprika: 1 teaspoon for color and mild smokiness Onion Powder: 1/2 teaspoon for savory notes
Step-by-Step Cooking Method
Preparation Phase
I always start by removing the chicken from the refrigerator about 30 minutes before cooking. This allows the meat to come to room temperature, ensuring more even cooking throughout.
First, I thoroughly pat each drumstick dry with paper towels. This step is crucial – any excess moisture will prevent that coveted crispy skin from developing. I then lightly brush or rub each piece with olive oil, making sure to coat all surfaces evenly.
Seasoning Strategy
My go-to seasoning blend combines all the dry spices in a small bowl. I like to mix them thoroughly before applying to ensure even distribution. Then I generously coat each drumstick, pressing the seasonings into the skin to help them adhere better.
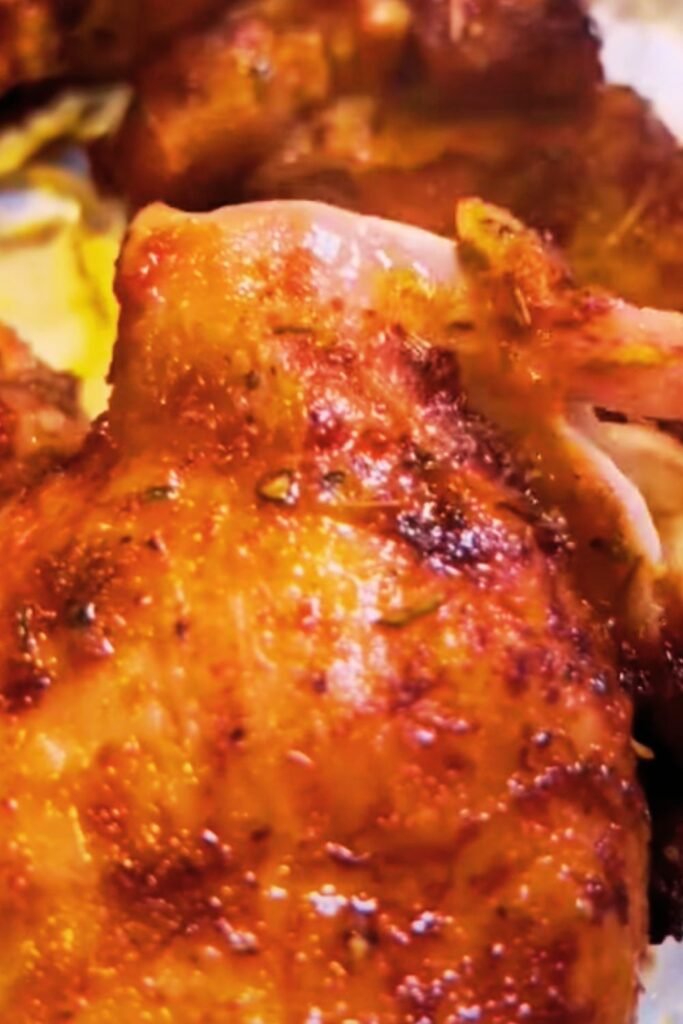
Pro Tip: I sometimes score the skin lightly with a sharp knife in a crosshatch pattern. This helps the seasonings penetrate deeper and creates additional surface area for crispiness.
Cooking Process
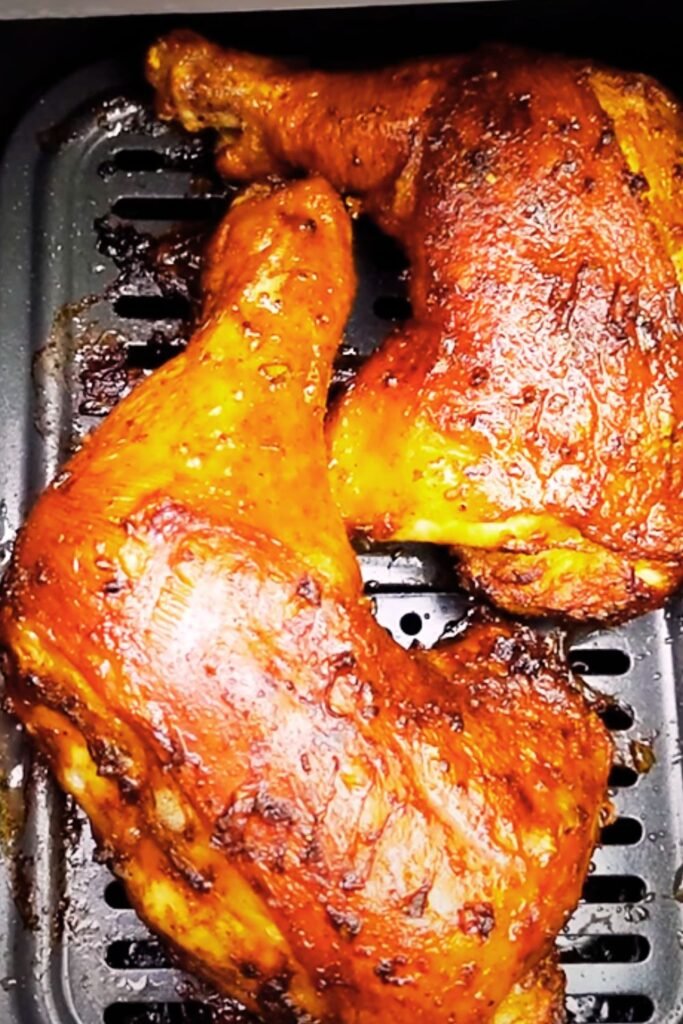
I preheat my air fryer to 380°F (193°C) for about 3 minutes. This initial heat helps jumpstart the crisping process. Then I arrange the seasoned drumsticks in the air fryer basket, making sure they’re not touching each other. Overcrowding leads to uneven cooking and steaming instead of crisping.
The cooking time typically runs 12-15 minutes, but I always flip the drumsticks halfway through at the 7-minute mark. This ensures even browning on all sides. During the last few minutes, I keep a close eye on the color development – I’m looking for that beautiful golden-brown hue that signals perfect doneness.
Temperature and Timing Guidelines
Getting the timing right is crucial for food safety and optimal texture. Here’s my detailed breakdown:
| Cooking Stage | Temperature | Time | Internal Temp |
|---|---|---|---|
| Initial Cook | 380°F (193°C) | 7 minutes | 140°F (60°C) |
| Flip & Continue | 380°F (193°C) | 5-8 minutes | 165°F (74°C) |
| Final Check | 380°F (193°C) | 2-3 minutes | 165°F (74°C) |
The USDA recommends an internal temperature of 165°F (74°C) for chicken, and I always use a meat thermometer to verify doneness. I insert it into the thickest part of the drumstick, avoiding the bone, which can give false readings.
Flavor Variations and Seasoning Blends
One of the aspects I love most about air fryer chicken legs is their versatility. Over the years, I’ve developed several signature seasoning blends that never fail to impress:
Mediterranean Herb Blend
Dried Oregano: 2 teaspoons Dried Thyme: 1 teaspoon
Dried Rosemary: 1 teaspoon, crushed Lemon Zest: From 1 lemon Garlic Powder: 2 teaspoons Salt and Pepper: To taste
Cajun Spice Mix
Paprika: 2 teaspoons Cayenne Pepper: 1/2 teaspoon (adjust to taste) Dried Thyme: 1 teaspoon Oregano: 1 teaspoon Garlic Powder: 1 teaspoon Onion Powder: 1 teaspoon Salt: 1 teaspoon
Asian-Inspired Seasoning
Five-Spice Powder: 1 teaspoon Garlic Powder: 1 teaspoon Ginger Powder: 1/2 teaspoon Soy Sauce Powder: 1 teaspoon (or regular salt) Sesame Seeds: 1 tablespoon Red Pepper Flakes: 1/4 teaspoon
Troubleshooting Common Issues
Throughout my air frying journey, I’ve encountered and solved several common problems:
Skin Not Crispy Enough
This usually happens when the chicken isn’t dried properly or the air fryer is overcrowded. I always ensure each drumstick is thoroughly patted dry and has adequate space around it for air circulation.
Uneven Cooking
This typically occurs when drumsticks are different sizes or when they’re not flipped at the right time. I try to select similarly-sized pieces and set a timer to remind myself to flip at the halfway point.
Dry Meat
Overcooking is the culprit here. I rely heavily on my meat thermometer and remove the chicken as soon as it reaches 165°F internal temperature.
Nutritional Benefits and Health Considerations
| Nutrient | Per Drumstick (100g) | Daily Value % |
|---|---|---|
| Protein | 28g | 56% |
| Fat | 12g | 18% |
| Calories | 220 | 11% |
| Iron | 1.2mg | 7% |
| Vitamin B6 | 0.4mg | 20% |
| Niacin | 6.2mg | 31% |
Air frying significantly reduces the fat content compared to traditional deep frying while maintaining the protein and essential nutrients. Chicken drumsticks are an excellent source of high-quality protein, which supports muscle maintenance and growth.
Serving Suggestions and Pairings
I love serving my air fryer chicken legs with a variety of sides that complement their rich, savory flavor:
Fresh and Light Options
Coleslaw: The crisp, tangy crunch provides a perfect contrast Garden Salad: Mixed greens with a light vinaigrette Roasted Vegetables: Brussels sprouts, carrots, or asparagus Corn on the Cob: Sweet corn balances the savory chicken
Heartier Accompaniments
Mashed Potatoes: Creamy potatoes are always a crowd-pleaser Rice Pilaf: Aromatic rice with herbs and spices Baked Sweet Potatoes: Naturally sweet and nutritious Garlic Bread: For those who love their carbs
Sauce Pairings
Honey Mustard: Sweet and tangy classic Ranch Dressing: Creamy and cooling BBQ Sauce: Smoky and robust Buffalo Sauce: For heat lovers Tzatziki: Greek yogurt-based, fresh and light
Storage and Reheating Instructions
Proper storage ensures your delicious chicken legs maintain their quality and safety:
Refrigeration
I store leftover chicken legs in airtight containers in the refrigerator for up to 3-4 days. I always allow them to cool completely before refrigerating to prevent condensation from making the skin soggy.
Freezing
For longer storage, I wrap individual drumsticks in plastic wrap and place them in freezer bags. They keep well for up to 3 months. I label everything with the date to track freshness.
Reheating Methods
Air Fryer: 350°F for 3-4 minutes (my preferred method) Oven: 350°F for 10-12 minutes Microwave: 30-second intervals until heated through (though this softens the skin)
Advanced Tips and Techniques
After years of perfecting this recipe, I’ve discovered several advanced techniques that elevate the results:
Brining for Extra Flavor
I sometimes brine my drumsticks for 2-4 hours before cooking. A simple brine of water, salt, and sugar enhances moisture retention and flavor penetration.
Double Cooking Method
For extra-crispy skin, I sometimes cook at 350°F for the first 10 minutes, then increase to 400°F for the final 5-7 minutes. This gradual temperature increase renders more fat from the skin.
Marinating Techniques
Overnight marination in buttermilk or yogurt-based marinades creates incredibly tender meat. The acid in these ingredients helps break down tough fibers.
Frequently Asked Questions
Q: Can I cook frozen chicken drumsticks in the air fryer? A: While it’s possible, I strongly recommend thawing them first. Frozen drumsticks cook unevenly and require significantly longer cooking times, often resulting in overcooked exteriors and undercooked centers.
Q: How do I know when the chicken is fully cooked without a thermometer? A: The juices should run clear when you pierce the thickest part of the drumstick, and the meat should no longer be pink near the bone. However, I always recommend using a meat thermometer for food safety.
Q: Can I stack drumsticks in my air fryer? A: I never recommend stacking as it prevents proper air circulation. If you need to cook many drumsticks, it’s better to cook them in batches for consistent results.
Q: Why is my chicken skin rubbery instead of crispy? A: This usually happens when the chicken isn’t dried properly before cooking or when the air fryer is overcrowded. Make sure to pat the chicken completely dry and leave space between pieces.
Q: Can I use different cuts of chicken with this method? A: Absolutely! This technique works well with thighs, wings, and even bone-in breasts, though cooking times may vary. Always check internal temperature for doneness.
Q: How do I prevent the seasoning from burning? A: If you notice the seasoning browning too quickly, you can tent the chicken with aluminum foil during the last few minutes of cooking, or reduce the temperature slightly.
Q: Can I make this recipe dairy-free? A: This recipe is naturally dairy-free as written. Just ensure any seasoning blends you use don’t contain dairy-based ingredients.
Q: What’s the best way to ensure even cooking with different-sized drumsticks? A: I try to select drumsticks of similar size, but when that’s not possible, I start the larger ones first and add the smaller ones a few minutes later.
Q: How can I add more flavor without adding sodium? A: Try using fresh herbs, citrus zest, garlic, ginger, or salt-free spice blends. Marinating in citrus juice or vinegar-based marinades also adds flavor without excess sodium.
Q: Is it safe to eat chicken that’s slightly pink near the bone? A: As long as the internal temperature reaches 165°F, slight pinkness near the bone is normal and safe. This is often due to the bone marrow, not undercooking.
Final Thoughts
Air fryer chicken legs have become one of my absolute favorite weeknight dinners. They’re incredibly forgiving, endlessly customizable, and deliver restaurant-quality results with minimal effort. The combination of crispy skin and juicy meat, achieved in just 15 minutes, makes this recipe a true winner in my kitchen.
I encourage you to start with my basic recipe and then experiment with different seasonings and techniques to find your perfect combination. Remember, cooking is about having fun and creating meals that bring joy to your table. Whether you’re feeding a family or meal-prepping for the week, these air fryer chicken legs are sure to become a staple in your cooking repertoire.
The beauty of this recipe lies not just in its simplicity, but in its reliability. Once you master the basic technique, you’ll have the confidence to experiment and create your own signature versions. I hope this guide helps you achieve the crispy, juicy chicken legs of your dreams!