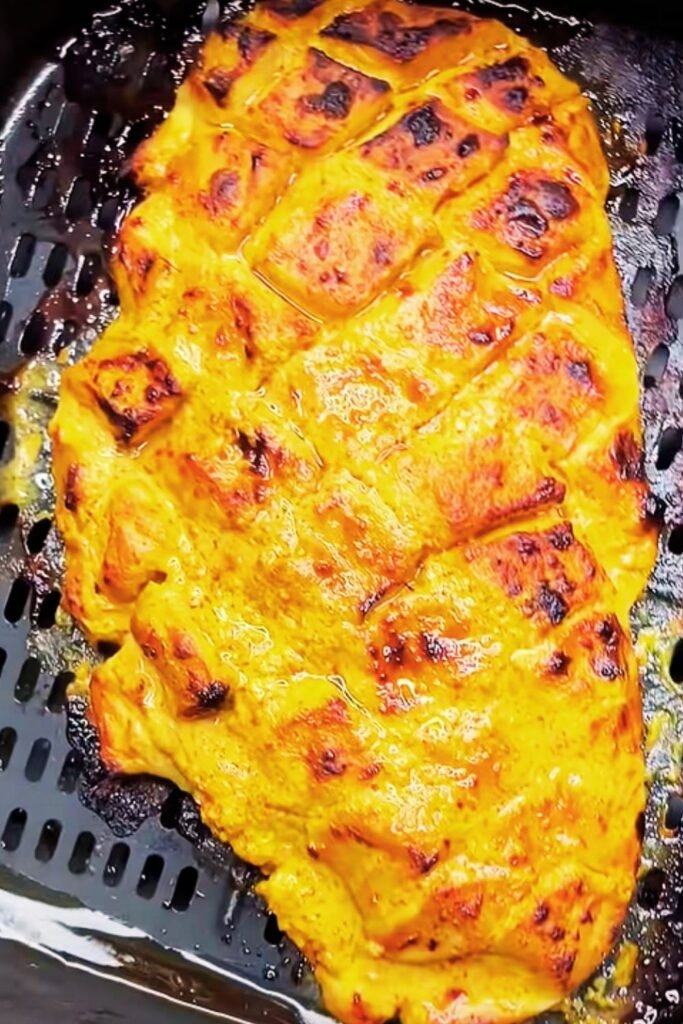
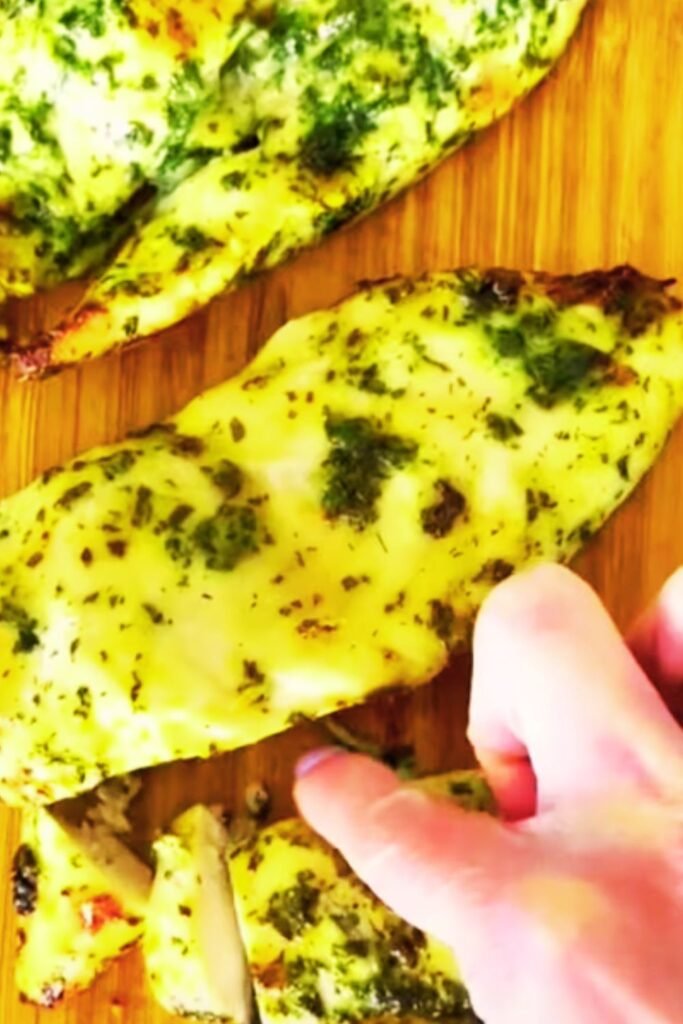
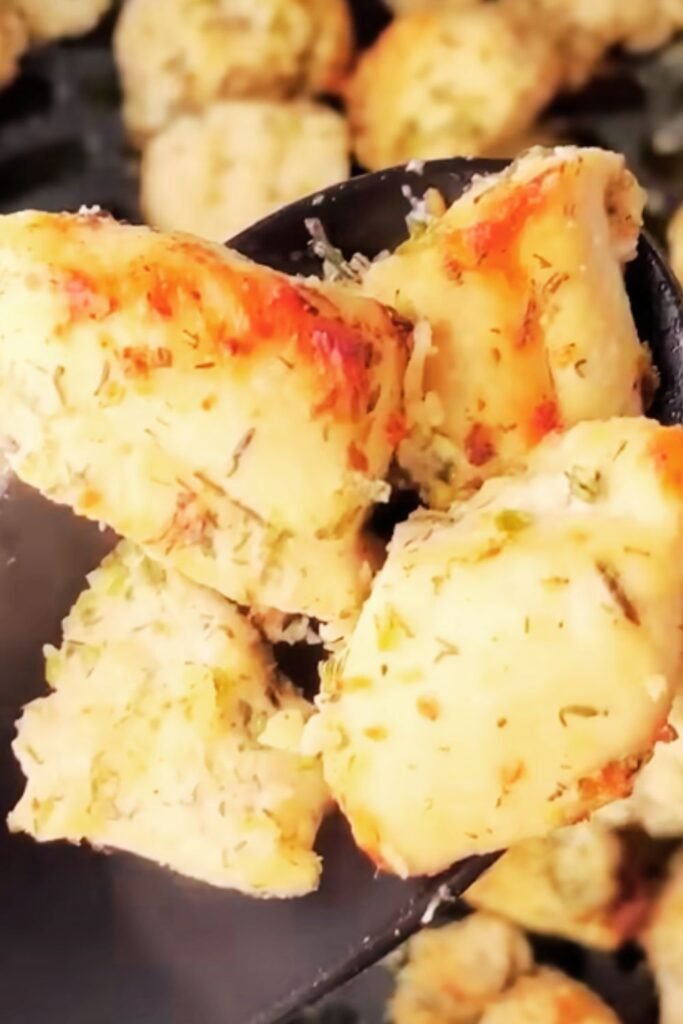
I’ll be honest with you – finding a dinner recipe that’s both incredibly simple and absolutely delicious can feel like searching for a needle in a haystack. But after countless experiments in my kitchen, I’ve discovered what might just be the perfect weeknight meal: air fryer ranch chicken breast that requires only four ingredients and delivers restaurant-quality results every single time.
This recipe has become my go-to solution when I need something quick, satisfying, and keto-friendly. The beauty lies not just in its simplicity, but in how the air fryer transforms ordinary chicken breast into something extraordinary – crispy on the outside, juicy on the inside, and packed with that irresistible ranch flavor we all crave.
Why I Love This Air Fryer Ranch Chicken Recipe
After years of cooking for my family, I’ve learned that the best recipes are often the simplest ones. This air fryer ranch chicken breast has earned its permanent spot in my weekly meal rotation for several compelling reasons.
First, the time factor is unbeatable. From prep to plate, you’re looking at just 25 minutes total. That’s faster than most delivery options and infinitely more satisfying. I remember the first time I made this – I was skeptical that something so simple could taste so good, but one bite proved me completely wrong.
The keto-friendly aspect makes this recipe a winner for anyone following a low-carb lifestyle. With virtually no carbohydrates and plenty of protein, it fits perfectly into ketogenic meal plans without sacrificing flavor or satisfaction.
Essential Ingredients: The Fantastic Four
Chicken Breast (4 pieces, 6-8 oz each)
- Boneless, skinless chicken breasts work best
- Look for uniform thickness for even cooking
- Fresh or thawed frozen both work excellently
Ranch Seasoning Packet (1 oz)
- Any brand works, though I prefer Hidden Valley
- Dry seasoning blend provides the signature flavor
- Contains herbs, spices, and flavor enhancers
Olive Oil (2 tablespoons)
- Extra virgin olive oil for best flavor
- Helps seasoning adhere and promotes browning
- Creates that coveted crispy exterior
Garlic Powder (1 teaspoon)
- Enhances the ranch flavor profile
- Adds depth without overpowering
- Complements the herbs in ranch seasoning

Equipment You’ll Need
The beauty of this recipe extends to the minimal equipment required. Here’s what I use every time:
Air Fryer: Any 3.5-quart or larger model works perfectly. I’ve tested this recipe in various brands, and the results are consistently excellent.
Meat Thermometer: This is crucial for food safety and perfect doneness. Digital instant-read thermometers give the most accurate results.
Mixing Bowl: For combining the oil and seasonings before coating the chicken.
Tongs: Essential for safely handling the chicken during cooking.
Step-by-Step Cooking Instructions
Let me walk you through my tried-and-tested method that delivers perfect results every single time.
Preparation Phase
I start by preheating my air fryer to 375°F (190°C). This step is crucial – a properly preheated air fryer ensures even cooking from the moment the chicken goes in.
While the air fryer preheats, I pat the chicken breasts completely dry with paper towels. This might seem like a small detail, but moisture is the enemy of crispiness. I’ve learned this lesson the hard way through countless cooking experiments.
Next, I examine each chicken breast for thickness variations. If any piece is significantly thicker than the others, I gently pound it to an even thickness using a meat mallet or rolling pin. Uniform thickness ensures all pieces cook at the same rate.
Seasoning Process
In a large mixing bowl, I combine the olive oil, ranch seasoning packet, and garlic powder. I whisk these together until they form a paste-like consistency. The mixture should be thick enough to coat the chicken but not so thick that it clumps.
I add the chicken breasts to the bowl and use my hands to thoroughly coat each piece. I make sure every surface is covered with the seasoning mixture, paying special attention to any crevices or uneven areas. This hands-on approach ensures even distribution better than any utensil.
Cooking Technique
I arrange the seasoned chicken breasts in the air fryer basket, making sure they don’t overlap. Proper air circulation is key to achieving that perfect crispy exterior. If my chicken pieces are large, I cook them in batches rather than overcrowding.
The cooking time is 12 minutes, then I flip each piece and cook for an additional 8-10 minutes. However, I never rely solely on time – I always check the internal temperature with my meat thermometer. The chicken is done when it reaches 165°F (74°C) at the thickest part.

Nutritional Information and Keto Benefits
This recipe shines particularly bright for those following ketogenic diets. Let me break down the impressive nutritional profile:
| Nutrient | Per Serving | % Daily Value |
|---|---|---|
| Calories | 285 | 14% |
| Protein | 54g | 108% |
| Total Fat | 8g | 12% |
| Saturated Fat | 2g | 10% |
| Carbohydrates | 1g | <1% |
| Fiber | 0g | 0% |
| Sugar | 0g | 0% |
| Sodium | 890mg | 39% |
| Potassium | 785mg | 22% |
The macronutrient breakdown makes this an ideal keto meal:
- Carbs: Less than 1g per serving
- Protein: Over 50g per serving
- Fat: Moderate amount from olive oil
Serving Suggestions and Meal Pairings
Over the years, I’ve discovered numerous ways to serve this versatile chicken. Here are my favorite combinations that keep meals interesting:
Low-Carb Vegetable Sides
Roasted Broccoli: Toss with olive oil, salt, and pepper, then roast at 425°F for 15-20 minutes.
Cauliflower Mash: Steam cauliflower until tender, then mash with butter, cream, and seasonings.
Sautéed Spinach: Quick-cook fresh spinach with garlic and a splash of lemon juice.
Zucchini Noodles: Spiralize fresh zucchini and sauté lightly, or serve raw for extra crunch.
Salad Combinations
I love slicing this chicken and serving it over mixed greens with cherry tomatoes, cucumber, and a drizzle of ranch dressing. The warm chicken contrasts beautifully with cool, crisp vegetables.
Another favorite is a Caesar-style salad with romaine lettuce, parmesan cheese, and sugar-free Caesar dressing. The ranch flavors complement the Caesar elements surprisingly well.
Sauce Pairings
While the chicken is delicious on its own, sometimes I like to offer additional sauces:
- Sugar-free barbecue sauce
- Homemade aioli
- Lemon herb butter
- Spicy mayo made with avocado oil mayo
Storage and Meal Prep Tips
This recipe is fantastic for meal preparation, which has been a game-changer for my busy weeks. Here’s how I handle storage and reheating:
Refrigerator Storage
Cooked chicken keeps beautifully in the refrigerator for up to 4 days. I store it in airtight containers, sometimes slicing it beforehand if I plan to use it in salads or wraps.
Freezer Storage
For longer storage, this chicken freezes well for up to 3 months. I wrap individual portions in plastic wrap, then place them in freezer bags with the date clearly marked.
Reheating Methods
Air Fryer: Reheat at 350°F for 3-4 minutes to restore crispiness.
Oven: Warm at 325°F for 8-10 minutes, covered with foil to prevent drying.
Microwave: Use 50% power in 30-second intervals to avoid overcooking.

Troubleshooting Common Issues
Through my experience making this recipe countless times, I’ve encountered and solved several common problems:
Dry Chicken
Problem: Chicken turns out dry and tough. Solution: Check your cooking time and temperature. Overcooking is the most common cause. Always use a meat thermometer and remove chicken as soon as it reaches 165°F.
Uneven Cooking
Problem: Some pieces are done while others need more time. Solution: Ensure uniform thickness by pounding thicker pieces. Arrange similar-sized pieces together in the air fryer.
Seasoning Won’t Stick
Problem: Ranch seasoning falls off during cooking. Solution: Make sure chicken is completely dry before seasoning, and use enough oil to help seasonings adhere.
Not Crispy Enough
Problem: Chicken lacks the desired crispy exterior. Solution: Don’t overcrowd the air fryer, and ensure it’s properly preheated before adding chicken.
Recipe Variations and Customizations
While the basic four-ingredient version is perfect as-is, I sometimes like to experiment with variations:
Spicy Ranch Version
Add 1/2 teaspoon cayenne pepper or hot paprika to the seasoning mix for a kick of heat.
Herb-Enhanced Version
Include 1 teaspoon each of dried oregano and thyme for additional herb flavors.
Parmesan Ranch
Mix 2 tablespoons of grated parmesan cheese into the seasoning blend for extra richness.
Lemon Ranch
Add the zest of one lemon to brighten the flavors and add citrus notes.
Why Air Frying Works So Well
The science behind air frying fascinated me when I first started using this cooking method. The rapid circulation of hot air creates a convection effect that cooks food quickly while developing a crispy exterior.
For chicken breast, this method is particularly effective because:
- Even Heat Distribution: The circulating air ensures all surfaces cook uniformly
- Moisture Retention: The quick cooking time prevents the chicken from drying out
- Crispy Texture: The dry heat creates browning reactions that develop flavor and texture
- Fat Reduction: Excess fat drips away during cooking, resulting in leaner finished product
Cost Analysis and Budget Benefits
This recipe represents excellent value for money. Breaking down the costs:
| Ingredient | Approximate Cost | Cost Per Serving |
|---|---|---|
| Chicken Breast (2 lbs) | $8.00 | $2.00 |
| Ranch Seasoning | $1.00 | $0.25 |
| Olive Oil | $0.50 | $0.13 |
| Garlic Powder | $0.25 | $0.06 |
| Total | $9.75 | $2.44 |
Compared to restaurant meals or even many processed convenience foods, this homemade option provides premium protein at a fraction of the cost.
Food Safety Considerations
Safety is paramount when cooking poultry. Here are the key points I always follow:
Temperature Guidelines
- Minimum Internal Temperature: 165°F (74°C)
- Resting Time: Let chicken rest 3-5 minutes after cooking
- Thermometer Placement: Insert into the thickest part of the breast
Handling Practices
- Wash hands thoroughly after handling raw chicken
- Use separate cutting boards for raw and cooked foods
- Clean all surfaces that contact raw chicken with bleach solution
Storage Safety
- Refrigerate within 2 hours of cooking
- Keep refrigerated at 40°F or below
- Use within 3-4 days or freeze for longer storage
Frequently Asked Questions
Q: Can I use frozen chicken breasts for this recipe?
I always recommend thawing chicken completely before cooking for the best results. Frozen chicken cooks unevenly and can result in overcooked exteriors with undercooked centers. If you’re short on time, use the defrost function on your microwave or place the sealed chicken in cold water, changing the water every 30 minutes.
Q: What if I don’t have ranch seasoning packets?
You can absolutely make your own ranch seasoning! Mix together 1 tablespoon dried dill, 1 tablespoon dried parsley, 2 teaspoons garlic powder, 2 teaspoons onion powder, 1 teaspoon dried chives, 1 teaspoon salt, and 1/2 teaspoon black pepper. This makes enough for several batches.
Q: Can I double this recipe?
Yes, but you’ll need to cook in batches to avoid overcrowding your air fryer. Overcrowding prevents proper air circulation and results in uneven cooking. I typically cook 2-3 pieces at a time depending on their size and my air fryer capacity.
Q: How do I know when the chicken is done without a thermometer?
While I strongly recommend using a meat thermometer for food safety, you can check doneness by cutting into the thickest part of the breast. The meat should be white throughout with no pink areas, and the juices should run clear.
Q: Can I marinate the chicken beforehand?
Absolutely! Marinating the chicken in the oil and seasoning mixture for 30 minutes to 4 hours before cooking will intensify the flavors. Just pat the chicken dry before placing it in the air fryer to ensure proper browning.
Q: What’s the best way to reheat leftovers?
I prefer reheating in the air fryer at 350°F for 3-4 minutes to restore the crispy exterior. You can also use a conventional oven at 325°F for 8-10 minutes, but cover with foil to prevent drying out.
Q: Can I use chicken thighs instead of breasts?
Yes, but you’ll need to adjust the cooking time. Thighs take longer to cook – about 18-20 minutes total at 375°F. The internal temperature should still reach 165°F for safety.
Q: Is this recipe suitable for meal prep?
This recipe is perfect for meal prep! The cooked chicken keeps well in the refrigerator for up to 4 days and can be used in salads, wraps, or eaten on its own. I often make a double batch on Sunday for the week ahead.
Q: Can I make this recipe dairy-free?
Most ranch seasoning packets are already dairy-free, but always check the ingredient label to be sure. The recipe as written contains no dairy products, making it naturally dairy-free.
Q: What size air fryer do I need?
Any air fryer with at least a 3.5-quart capacity will work for this recipe. Larger air fryers can accommodate more pieces at once, but smaller ones work fine if you cook in batches.
This air fryer ranch chicken breast has truly revolutionized my weeknight dinner routine. The combination of minimal ingredients, maximum flavor, and foolproof cooking method makes it a winner every single time. Whether you’re new to air frying or a seasoned pro, this recipe delivers consistent, delicious results that will have your family asking for seconds. The keto-friendly profile is just the cherry on top of an already perfect meal!