There’s something absolutely magical about cookies that make you smile before you even take a bite. I’ve been experimenting with fun, creative cookie recipes for years, and these Big Blue Monster Stuffed Cookies have quickly become my favorite show-stopping dessert. Inspired by everyone’s beloved Cookie Monster, these vibrant blue treats are stuffed with chocolate chips and deliver an explosion of flavor that’ll have both kids and adults reaching for seconds.
What makes these cookies truly special isn’t just their striking blue color – it’s the surprise element of finding melted chocolate chips tucked inside each bite. I’ve perfected this recipe through countless batches, tweaking the texture, adjusting the sweetness, and finding the perfect balance of chewiness and crispness that makes these cookies absolutely irresistible.
Understanding the Magic Behind Monster Cookies
Monster Cookies: Large, colorful cookies typically containing multiple mix-ins like chocolate chips, candies, or nuts, known for their oversized appearance and bold flavors.
Stuffed Cookies: Cookies with fillings enclosed within the dough, creating surprise pockets of flavor when bitten into.
Food Coloring Integration: The process of evenly distributing color throughout cookie dough to achieve vibrant, consistent results without affecting taste or texture.
Dough Chilling: A crucial technique that prevents cookies from spreading too much during baking while maintaining their stuffed shape.
The concept behind these Big Blue Monster Stuffed Cookies combines the visual appeal of monster-style cookies with the delightful surprise of stuffed varieties. I’ve found that the key to success lies in understanding how each ingredient contributes to both the structure and the final taste experience.
Essential Ingredients Breakdown
Creating the perfect Big Blue Monster Stuffed Cookies requires careful selection of high-quality ingredients. I’ve learned through experience that each component plays a crucial role in achieving the ideal texture, flavor, and appearance.
| Ingredient | Quantity | Purpose | Quality Tips |
|---|---|---|---|
| All-purpose flour | 2¼ cups | Structure and texture | Use fresh flour, sift for best results |
| Unsalted butter | 1 cup (softened) | Richness and moisture | Room temperature is crucial |
| Brown sugar | ¾ cup | Moisture and chewiness | Light brown sugar preferred |
| Granulated sugar | ½ cup | Sweetness and texture | Fine granulation works best |
| Large eggs | 2 | Binding and richness | Room temperature eggs mix better |
| Vanilla extract | 2 teaspoons | Flavor enhancement | Pure vanilla extract only |
| Blue food coloring | 1-2 teaspoons | Signature monster color | Gel coloring provides best results |
| Baking soda | 1 teaspoon | Leavening agent | Check expiration date |
| Salt | ½ teaspoon | Flavor balance | Fine sea salt recommended |
| Mini chocolate chips | 1½ cups | Stuffing and mix-ins | Semi-sweet or dark chocolate |
| Vanilla wafers | 1 cup (crushed) | Monster-like texture | Crush to small chunks, not powder |
The butter temperature is absolutely critical – I always leave mine out for about an hour before baking. When it’s properly softened, it should give slightly to pressure but not be melted or too soft.

Step-by-Step Preparation Method
My approach to making these cookies has evolved over time, and I’ve discovered that following a specific sequence ensures consistent results every single time.
Preparation Phase
I always start by preheating my oven to 350°F (175°C) and lining my baking sheets with parchment paper. This prevents sticking and ensures even baking across all cookies.
Mixing the Dough
In my large mixing bowl, I cream together the softened butter with both brown and granulated sugars until the mixture becomes light and fluffy – usually about 3-4 minutes with an electric mixer. The texture should be noticeably lighter in color and increased in volume.
Next, I add the eggs one at a time, mixing well after each addition. The vanilla extract goes in next, followed by the blue food coloring. I’ve learned that adding the coloring gradually helps achieve an even distribution without creating streaks.
In a separate bowl, I whisk together the flour, baking soda, and salt. I then gradually add this dry mixture to the wet ingredients, mixing just until combined. Overmixing can lead to tough cookies, so I stop as soon as I don’t see any flour streaks.
Creating the Stuffing
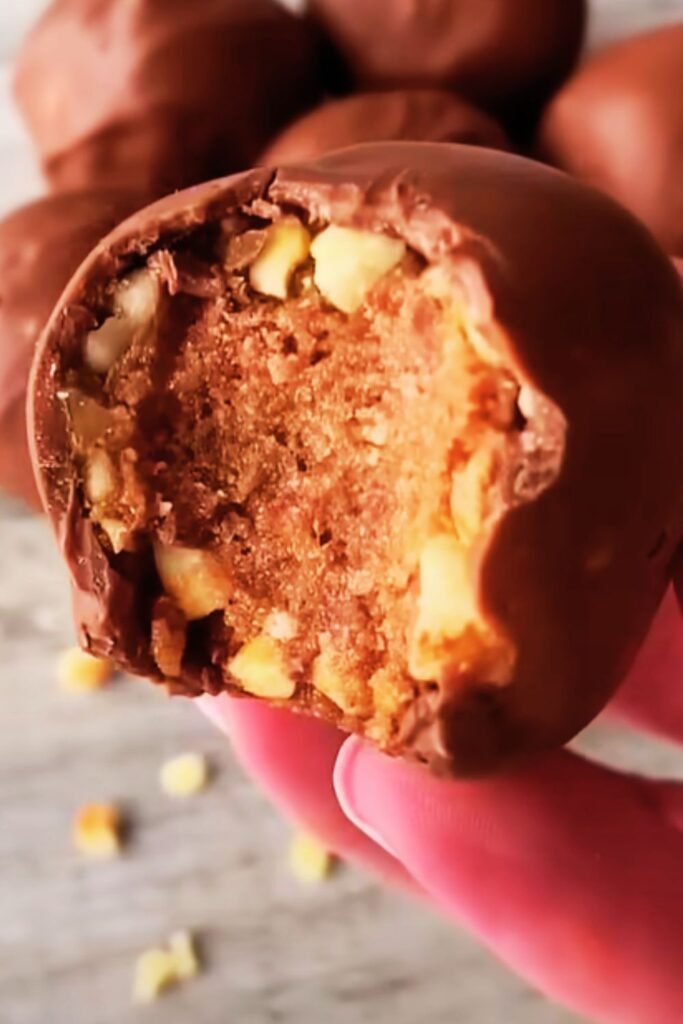
For the stuffing mixture, I combine ¾ cup of the mini chocolate chips with the crushed vanilla wafers. This combination creates an amazing textural contrast – the chips provide bursts of chocolate while the wafer pieces add that distinctive monster cookie crunch.
Assembly Process
Here’s where the magic happens. I scoop about 2 tablespoons of dough and flatten it in my palm. I place about 1 teaspoon of the stuffing mixture in the center, then top with another tablespoon of dough. The key is sealing the edges completely to prevent the filling from leaking out during baking.
I roll each stuffed portion into a ball and place them on the prepared baking sheets, spacing them about 2 inches apart. Before baking, I press a few additional chocolate chips and wafer pieces on top of each cookie for that authentic monster appearance.
Baking Techniques and Temperature Control
The baking process is where many home bakers encounter challenges, but I’ve developed a foolproof method that works every time.
| Baking Parameter | Specification | Why It Matters |
|---|---|---|
| Oven Temperature | 350°F (175°C) | Ensures proper rise without burning |
| Baking Time | 10-12 minutes | Prevents overbaking while ensuring doneness |
| Cookie Spacing | 2 inches apart | Allows for spread without merging |
| Pan Position | Center rack | Promotes even heat distribution |
| Cooling Time | 5 minutes on pan | Prevents breaking while setting structure |
| Final Cooling | Wire rack | Prevents soggy bottoms |
I bake these cookies for exactly 11 minutes – they should look slightly underdone in the center when I remove them. The edges will be set and lightly golden, but the centers might appear soft. This is perfect because they continue cooking on the hot pan for several minutes after removal.
The cooling process is just as important as the baking itself. I let the cookies rest on the baking sheet for 5 minutes before transferring them to a wire rack. This prevents them from breaking apart while ensuring they don’t continue cooking too much from residual heat.
Texture and Flavor Profile Analysis
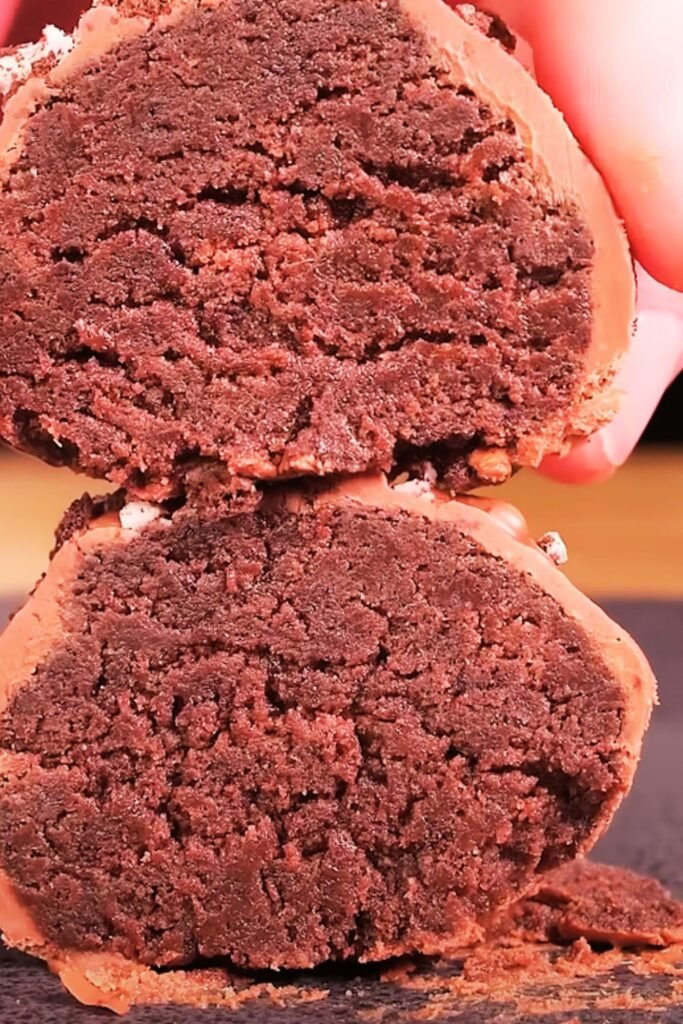
What sets these Big Blue Monster Stuffed Cookies apart from regular chocolate chip cookies is their complex texture profile and layered flavors. The exterior provides a slightly crispy shell that gives way to a chewy interior, while the stuffed center delivers bursts of concentrated chocolate and vanilla wafer crunch.
The blue coloring doesn’t affect the taste at all – I’ve served these to skeptical adults who were amazed that they tasted like premium chocolate chip cookies despite their playful appearance. The vanilla wafer pieces add a subtle vanilla flavor that complements the chocolate chips beautifully.
The size of these cookies – roughly 3 inches in diameter – makes them substantial enough to satisfy serious sweet cravings while being manageable for smaller hands. I’ve found that the stuffing stays well-contained during baking, creating delightful pockets of melted chocolate that surprise with every bite.
Storage and Freshness Guidelines
Proper storage is essential for maintaining the quality of these stuffed cookies. I’ve experimented with various storage methods and found the most effective approaches for different time frames.
| Storage Method | Duration | Container Type | Special Instructions |
|---|---|---|---|
| Room Temperature | 5-7 days | Airtight container | Layer with parchment paper |
| Refrigeration | 2 weeks | Sealed container | Bring to room temp before serving |
| Freezing (baked) | 3 months | Freezer bags | Thaw completely before serving |
| Freezing (dough) | 6 months | Wrapped portions | Bake directly from frozen, add 2 minutes |
For room temperature storage, I always place a piece of bread in the container with the cookies. The bread helps maintain moisture levels and keeps the cookies from becoming too crispy. I replace the bread slice every few days to prevent any staleness.
When freezing the dough, I portion it into individual cookie sizes and freeze them on a baking sheet first. Once solid, I transfer them to freezer bags. This method allows me to bake fresh cookies whenever I want them without having to make an entire batch.
Nutritional Information and Dietary Considerations
Understanding the nutritional content helps me make informed decisions about serving sizes and frequency of enjoying these treats.
| Nutrient | Per Cookie (approximately) | Daily Value % |
|---|---|---|
| Calories | 285 | 14% |
| Total Fat | 12g | 18% |
| Saturated Fat | 7g | 35% |
| Cholesterol | 35mg | 12% |
| Sodium | 180mg | 8% |
| Total Carbohydrates | 42g | 15% |
| Dietary Fiber | 2g | 7% |
| Sugars | 28g | – |
| Protein | 4g | 8% |
These cookies are definitely an indulgent treat, and I always recommend enjoying them in moderation as part of a balanced diet. The recipe makes approximately 18 large cookies, which means each person can enjoy a substantial treat without overdoing it.
For those with dietary restrictions, I’ve successfully modified this recipe using gluten-free flour blends and dairy-free butter alternatives. The key is maintaining the same ratios and not making too many substitutions at once.
Serving Suggestions and Presentation Ideas
The visual impact of these Big Blue Monster Stuffed Cookies makes them perfect for various occasions. I’ve served them at children’s birthday parties, where they never fail to generate excitement and smiles.
For birthday parties, I arrange them on colorful plates and add some fun monster-themed decorations around the serving area. The bright blue color makes them an instant conversation starter and photo opportunity.
During holiday seasons, I sometimes modify the color scheme – orange for Halloween, red and green for Christmas, or pastel colors for Easter. The versatility of the base recipe allows for endless creative possibilities.
I’ve also packaged these cookies individually in clear cellophane bags tied with colorful ribbons as party favors. They maintain their freshness well and make memorable take-home treats that guests actually want to keep.
For more sophisticated presentations, I serve them alongside vanilla ice cream or create cookie sandwiches using cream cheese frosting as the filling. The contrast between the playful cookie and elegant presentation creates an interesting juxtaposition that works surprisingly well.
Troubleshooting Common Issues
Through my years of making these cookies, I’ve encountered and solved various challenges that home bakers might face.
Cookies Spreading Too Much: This usually indicates that the butter was too warm or the dough wasn’t chilled enough. I always chill my dough for at least 30 minutes if I notice it’s too soft.
Uneven Blue Color: Gel food coloring works much better than liquid coloring. I add it gradually and mix thoroughly to ensure even distribution throughout the dough.
Filling Leaking Out: This happens when the dough edges aren’t sealed properly. I make sure to pinch the edges firmly and roll the assembled cookie gently to maintain the seal.
Cookies Too Hard: Overbaking is the most common cause. I remove mine when they still look slightly underdone in the center – they’ll finish cooking on the hot pan.
Bland Flavor: Using fresh ingredients makes a huge difference. I always check my vanilla extract and baking soda expiration dates, and I use high-quality chocolate chips.
Creative Variations and Adaptations
The base recipe for these Big Blue Monster Stuffed Cookies serves as an excellent foundation for numerous creative variations. I’ve experimented with different colors, fillings, and mix-ins to create unique versions for various occasions.
For a more sophisticated twist, I sometimes substitute white chocolate chips for regular chocolate chips and add dried cranberries to the stuffing mixture. The tartness of the cranberries balances the sweetness beautifully.
During summer months, I’ve created a tropical version using coconut flakes and macadamia nuts in the stuffing, with the dough colored green instead of blue. These have become hugely popular at barbecues and pool parties.
For chocolate lovers, I add cocoa powder to create double chocolate monster cookies, using white chocolate chips as the primary stuffing ingredient for contrast. The result is an intensely chocolatey treat that satisfies the most serious chocolate cravings.
Questions and Answers
Q. Can I make these cookies without food coloring? Absolutely! The cookies taste exactly the same without the blue coloring. You’ll just have regular monster-style stuffed cookies, which are still delicious and impressive. I sometimes make half the batch blue and half regular for variety.
Q. How do I prevent the cookies from becoming too flat? The key is chilling your dough and not over-creaming the butter. If your cookies are still spreading too much, try adding an extra 2-3 tablespoons of flour to the dough. Also, make sure your baking soda is fresh and active.
Q. Can I use different types of chocolate chips? Definitely! I’ve used dark chocolate chips, white chocolate chips, and even butterscotch chips successfully. Mini chips work best for the stuffing because they distribute more evenly, but regular-sized chips work too.
Q. What’s the best way to crush vanilla wafers? I place them in a sealed plastic bag and gently crush them with a rolling pin. You want pieces that are roughly the size of small pebbles – not powder, but not huge chunks either. Some people use a food processor, but I prefer the control of hand-crushing.
Q. Can I make the dough ahead of time? Yes! The dough can be made up to 2 days in advance and stored in the refrigerator. I actually think it tastes better after resting because the flavors have time to meld together. Just let it come to room temperature for about 15 minutes before shaping.
Q. Why do my cookies crack on top? Some cracking is normal and actually adds to the monster cookie appearance. However, excessive cracking usually means the oven temperature is too high or the cookies are baking too quickly. Try reducing the temperature by 25°F and baking for a minute or two longer.
Q. Can I freeze the baked cookies? Absolutely! These cookies freeze beautifully for up to 3 months. I wrap them individually in plastic wrap and then place them in freezer bags. Thaw them at room temperature for about 30 minutes before serving.
Q. How can I make these cookies more or less sweet? To reduce sweetness, I decrease the granulated sugar by 2-3 tablespoons and use semi-sweet or dark chocolate chips instead of milk chocolate. To increase sweetness, I add an extra tablespoon of granulated sugar or use sweeter mix-ins like white chocolate chips.
These Big Blue Monster Stuffed Cookies have brought joy to countless gatherings in my home, and I’m confident they’ll do the same for yours. The combination of playful appearance, delightful texture, and surprise-filled centers makes them a memorable treat that appeals to the kid in all of us. Whether you’re baking for a special occasion or just want to create something fun and delicious, these cookies deliver on every level.
Remember that baking is as much about the joy of creating as it is about the final product. Don’t be afraid to experiment with colors, fillings, and presentations to make these cookies uniquely yours. The most important ingredient in any recipe is the love and care you put into making it, and these Big Blue Monster Stuffed Cookies are the perfect canvas for sharing that love with others.