When I first discovered the magic of stuffed cookies, my baking world completely transformed. These Big Blue Monster Stuffed Cookies aren’t just any ordinary treat – they’re a whimsical celebration of childhood nostalgia wrapped in a soft, chewy cookie that’s bursting with surprises. The vibrant blue color immediately transports me back to Saturday mornings watching Sesame Street, while the hidden filling creates that perfect “wow” moment when you take your first bite.
What makes these cookies truly special is their playful nature combined with sophisticated baking techniques. I’ve spent countless hours perfecting this recipe, experimenting with different blue shades, filling combinations, and baking methods to create something that’s both visually stunning and absolutely delicious. The result is a cookie that’s guaranteed to bring smiles to faces of all ages.
Understanding the Blue Monster Cookie Concept
Blue Monster Cookies: Large, vibrant blue-colored cookies inspired by Cookie Monster’s iconic appearance, featuring a soft exterior and hidden sweet filling inside.
Stuffed Cookie Technique: A baking method where cookie dough is wrapped around a filling, creating a surprise center that’s revealed when the cookie is bitten or broken.
Natural Blue Coloring: Food-safe coloring agents derived from spirulina, butterfly pea flower, or high-quality food coloring that creates the signature blue hue without compromising taste.
Cookie Sandwich Method: The technique of creating two cookie dough portions – one for the bottom and one for the top – to encase the filling completely.
The beauty of these cookies lies in their versatility. I can customize the filling based on seasonal preferences, dietary restrictions, or personal taste preferences. The blue color can range from a soft sky blue to a deep ocean blue, depending on the amount of coloring used.
Essential Ingredients and Their Roles
Cookie Dough Components
| Ingredient | Quantity | Purpose | Substitution Options |
|---|---|---|---|
| All-purpose flour | 2¾ cups | Structure and texture | Gluten-free flour blend |
| Butter (unsalted) | 1 cup | Richness and tenderness | Vegan butter substitute |
| Brown sugar | ¾ cup | Moisture and chewy texture | Coconut sugar |
| Granulated sugar | ½ cup | Sweetness and spread | Monk fruit sweetener |
| Large eggs | 2 | Binding and structure | Flax eggs (vegan option) |
| Vanilla extract | 2 teaspoons | Flavor enhancement | Almond extract |
| Baking soda | 1 teaspoon | Leavening agent | Baking powder (1½ tsp) |
| Salt | ½ teaspoon | Flavor balance | Sea salt |
| Blue food coloring | 1-2 teaspoons | Signature color | Natural alternatives |
Filling Options and Variations
| Filling Type | Preparation | Flavor Profile | Storage Tips |
|---|---|---|---|
| Chocolate chip cookie dough | Raw, egg-free version | Sweet, vanilla-forward | Refrigerate up to 1 week |
| Nutella or chocolate spread | Room temperature | Rich, hazelnut-chocolate | Use at room temperature |
| Peanut butter filling | Mixed with powdered sugar | Nutty, creamy | Store covered |
| Cream cheese frosting | Stabilized with cornstarch | Tangy, smooth | Must refrigerate |
| Marshmallow fluff | Direct from jar | Sweet, pillowy | Best used fresh |
| Caramel sauce | Thick consistency | Buttery, sweet | Slightly warm for ease |
Step-by-Step Baking Process
Preparing the Cookie Dough
I always start by bringing my butter to room temperature – this usually takes about an hour, but I can speed it up by cutting it into small cubes. The butter should give slightly when pressed but not be completely soft.
In my large mixing bowl, I cream the butter with both brown and granulated sugars for about 3-4 minutes until the mixture becomes light and fluffy. This step is crucial because it incorporates air into the dough, creating that perfect chewy texture I love.
Next, I add the eggs one at a time, mixing well after each addition. The vanilla extract goes in next, followed by the blue food coloring. I start with just a few drops and gradually add more until I achieve the desired shade. Remember, the color will deepen slightly during baking.
Incorporating Dry Ingredients
In a separate bowl, I whisk together the flour, baking soda, and salt. I then gradually add this mixture to my wet ingredients, mixing just until combined. Overmixing can lead to tough cookies, so I stop as soon as I no longer see streaks of flour.
The dough should be slightly sticky but manageable. If it’s too wet, I add a tablespoon of flour at a time. If it’s too dry, a teaspoon of milk helps bring it together.
Assembly Technique
Here’s where the magic happens. I divide my dough into portions – each cookie uses about 3 tablespoons of dough total. I take 2 tablespoons of dough and flatten it into a circle in my palm. Then I place about 1 teaspoon of my chosen filling in the center.
Using the remaining tablespoon of dough, I cover the filling and gently seal the edges, rolling it into a smooth ball. The key is making sure there are no cracks or openings where the filling might leak out during baking.
Baking Guidelines and Temperature Control
| Temperature | Time | Rack Position | Visual Cues |
|---|---|---|---|
| 350°F (175°C) | 10-12 minutes | Center rack | Edges set, centers slightly soft |
| 325°F (165°C) | 12-14 minutes | Center rack | More even browning, thicker cookies |
| 375°F (190°C) | 8-10 minutes | Center rack | Crispier edges, faster bake |
I preheat my oven to 350°F and line my baking sheets with parchment paper. Spacing is important – I leave about 2 inches between each cookie since they’ll spread during baking.
The cookies are done when the edges are set and the centers still look slightly underbaked. They’ll continue cooking on the hot pan for a few minutes after I remove them from the oven.
Advanced Techniques and Troubleshooting
Achieving the Perfect Blue Color
Getting that signature Cookie Monster blue can be tricky. I’ve found that gel food coloring works better than liquid because it doesn’t thin out the dough. Natural alternatives like spirulina powder create a more muted blue-green color, while butterfly pea flower extract gives a vibrant blue that’s completely natural.
For consistent color throughout, I make sure to mix the coloring thoroughly into the wet ingredients before adding the flour. Sometimes I’ll add a tiny drop of green to make the blue more vibrant, but this requires careful testing.
Preventing Filling Leakage
The most common issue I encounter is filling leaking out during baking. Here are my proven solutions:
- Chill the assembled cookies for 30 minutes before baking
- Make sure the filling isn’t too liquid or warm
- Seal the edges completely, leaving no gaps
- Don’t overfill – less is more when it comes to stuffed cookies
Texture Optimization
| Desired Texture | Technique | Key Tips |
|---|---|---|
| Chewy | Slightly underbake, more brown sugar | Cool completely on baking sheet |
| Crispy edges | Higher temperature, thinner dough | Remove while edges are golden |
| Thick and soft | Chill dough, lower temperature | Don’t flatten before baking |
| Uniform thickness | Use cookie scoop, consistent portions | Weigh dough portions |
Creative Variations and Seasonal Adaptations
Holiday Themes
During Christmas, I transform these into “Blue Christmas” cookies by adding white chocolate chips to mimic snow. For Halloween, I create “Monster Mash” versions with different colored doughs – purple, green, and orange – stuffed with candy pieces.
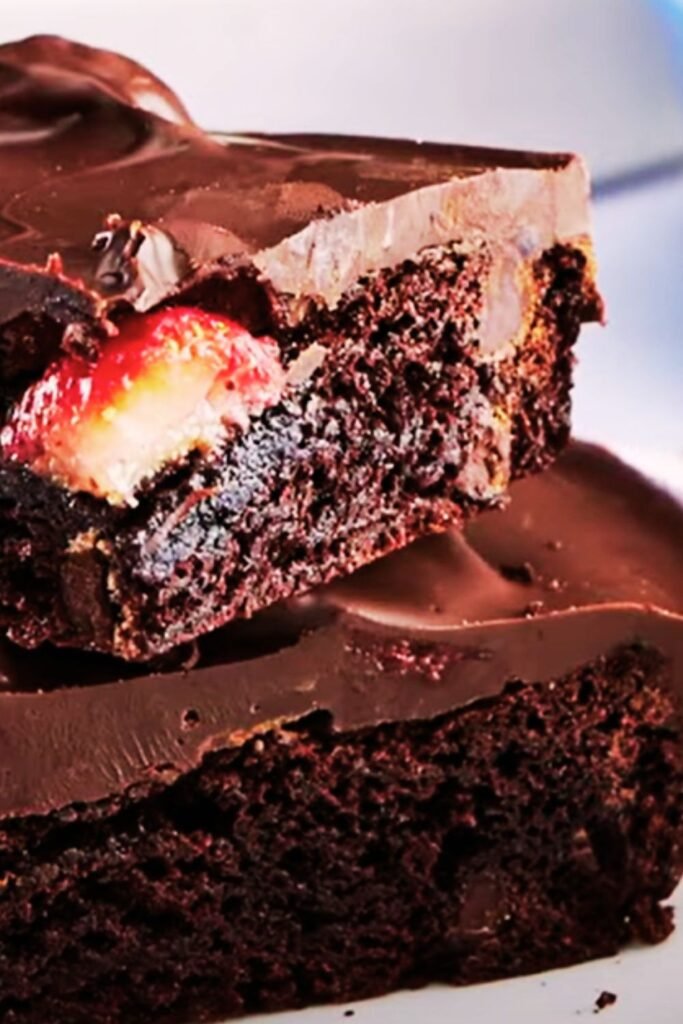
Valentine’s Day calls for a romantic twist where I use pink and blue swirled dough with strawberry cream filling. The contrast is visually striking and tastes incredible.
Dietary Modifications
Gluten-Free Version: I substitute the all-purpose flour with a high-quality gluten-free flour blend that contains xanthan gum. The texture is nearly identical to the original.
Vegan Adaptation: Plant-based butter works wonderfully, and I replace eggs with flax eggs (1 tablespoon ground flaxseed mixed with 3 tablespoons water per egg, let sit for 5 minutes).
Reduced Sugar: I can cut the sugar by up to one-third and add unsweetened applesauce to maintain moisture. Stevia or monk fruit sweetener work as additional substitutes.
International Flavor Profiles
| Country Inspiration | Filling | Cookie Modification | Cultural Element |
|---|---|---|---|
| French | Nutella and crushed hazelnuts | Add almond extract | Elegant presentation |
| Mexican | Dulce de leche with cinnamon | Add ground cinnamon to dough | Warm spice notes |
| Italian | Mascarpone with lemon zest | Lemon extract in dough | Fresh citrus accent |
| American | Peanut butter and jelly | Grape jelly swirl | Classic comfort combination |
| British | Clotted cream and jam | Earl Grey tea in dough | Sophisticated tea flavor |
Storage and Serving Recommendations
Short-term Storage
These cookies stay fresh for up to one week when stored in an airtight container at room temperature. I separate layers with parchment paper to prevent sticking. The filling actually helps keep the cookies moist longer than regular cookies.
Long-term Preservation
For longer storage, I freeze the baked cookies for up to three months. I wrap them individually in plastic wrap, then place them in freezer bags. They thaw beautifully at room temperature in about 30 minutes.
Alternatively, I can freeze the assembled but unbaked cookies. I place them on a baking sheet, freeze until solid, then transfer to freezer bags. They can be baked directly from frozen, adding 1-2 extra minutes to the baking time.
Serving Suggestions
These cookies shine when served slightly warm, which softens the filling and enhances all the flavors. I often warm them in the microwave for 10-15 seconds before serving.
For special occasions, I serve them alongside:
- Cold milk in fun, colorful glasses
- Vanilla ice cream for an indulgent dessert
- Hot chocolate with marshmallows for a cozy treat
- Fresh fruit to balance the sweetness
- Coffee or tea for adult gatherings
Presentation Ideas
The visual impact of these cookies is part of their charm. I arrange them on colorful plates or cake stands, sometimes adding Cookie Monster decorations or blue-themed table settings. For parties, I create a “Cookie Monster Station” where guests can watch me assemble the cookies or choose their own fillings.
Nutritional Considerations and Healthier Alternatives
Standard Nutritional Profile
Each cookie (based on chocolate chip filling) contains approximately:
- Calories: 285
- Fat: 12g
- Carbohydrates: 42g
- Protein: 4g
- Sugar: 28g
- Fiber: 1g
Healthier Modifications
Reducing Calories: I can substitute half the butter with unsweetened applesauce, reducing calories by about 60 per cookie while maintaining moisture.
Increasing Protein: Adding a scoop of vanilla protein powder to the dough boosts protein content without significantly affecting taste or texture.
Incorporating Whole Grains: Substituting half the all-purpose flour with whole wheat pastry flour adds fiber and nutrients while keeping the cookies tender.
Natural Sweeteners: Using coconut sugar or maple syrup in place of refined sugar adds trace minerals and creates a slightly different flavor profile that many people prefer.
Questions and Answers
Q. Can I make these cookies without food coloring if I want to avoid artificial ingredients?
Absolutely! The cookies taste just as delicious in their natural color. You can also experiment with natural blue coloring from spirulina powder or butterfly pea flower extract, though the color won’t be as vibrant as artificial coloring provides.
Q. What’s the best way to prevent the filling from leaking out during baking?
I’ve found that chilling the assembled cookies for at least 30 minutes before baking makes the biggest difference. Also, make sure your filling isn’t too liquid – if using something like caramel, let it cool and thicken first. Proper sealing of the dough edges is crucial too.
Q. How do I know when the cookies are perfectly baked?
The edges should be set and just starting to turn golden, while the centers still look slightly soft and underbaked. They’ll continue cooking on the hot pan after removal from the oven. If you overbake them, they’ll become hard rather than chewy.
Q. Can I prepare the cookie dough in advance?
Yes! The dough can be made up to 3 days ahead and stored in the refrigerator, or frozen for up to 3 months. If freezing, let it thaw in the refrigerator overnight before using. You can also assemble the cookies completely and freeze them unbaked.
Q. What fillings work best for beginners?
I recommend starting with cookie dough filling or Nutella because they’re forgiving and won’t leak easily. Avoid very liquid fillings like regular caramel sauce until you’ve mastered the sealing technique.
Q. Why do my cookies spread too much during baking?
This usually happens when the butter is too warm or the dough is too soft. Try chilling the dough for 15-30 minutes before baking. Also, make sure you’re not overpacking the dough when forming the cookies.
Q. Can I make smaller versions of these cookies?
Definitely! Just reduce the portion sizes proportionally – use about 1.5 tablespoons of dough total with ½ teaspoon of filling. Reduce the baking time to 8-10 minutes and watch them carefully.
Q. How do I fix cookies that turned out too dry?
Next time, try slightly underbaking them and adding an extra tablespoon of butter to the dough. For cookies that are already baked, storing them with a slice of bread overnight can help restore moisture.
Q. What’s the secret to getting perfectly round cookies?
After forming each cookie, I gently roll it between my palms to create a smooth, round shape. Chilling the dough also helps them hold their shape better during baking.
Q. Can I double this recipe for a large batch?
Yes, but I recommend mixing two separate batches rather than doubling everything at once. Large batches can be harder to mix evenly, and the dough quality might suffer. Plus, it’s easier to manage the assembly process with smaller batches.
These Big Blue Monster Stuffed Cookies represent everything I love about creative baking – they’re fun to make, visually impressive, and absolutely delicious. The combination of nostalgia, surprise, and exceptional taste makes them perfect for any occasion where you want to create lasting memories. Whether you’re baking with kids, preparing for a party, or just treating yourself to something special, these cookies deliver joy in every bite.