I’ve been baking for over a decade, and I can confidently say that these salted caramel dark chocolate cookies represent the perfect marriage of sweet, salty, and indulgent flavors. When I first created this recipe, I was searching for something that would satisfy my craving for both rich chocolate and that irresistible salted caramel combination that’s taken the dessert world by storm.
These aren’t your ordinary chocolate chip cookies. They’re sophisticated, complex, and absolutely addictive. The deep, slightly bitter notes of dark chocolate pair beautifully with the buttery sweetness of homemade caramel, while a sprinkle of flaky sea salt elevates the entire experience. Each bite delivers multiple layers of flavor and texture that will have you reaching for another cookie before you’ve finished the first.
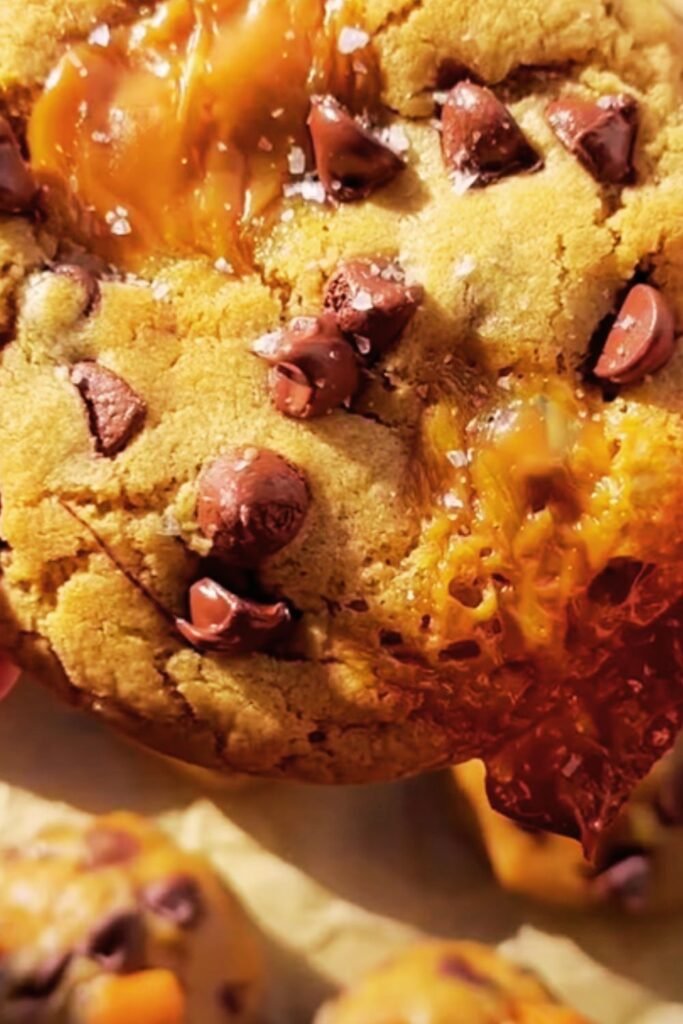
What makes these cookies truly special is the homemade salted caramel component. While you could use store-bought caramel, making your own allows you to control the salt level and achieve that perfect consistency that won’t make your cookies soggy or overly sweet. The caramel adds moisture and chewiness, creating cookies that stay soft for days.
Understanding the Key Components
Dark Chocolate Selection : Choose chocolate with 60-70% cocoa content for optimal balance. Higher percentages can overwhelm the caramel, while lower percentages won’t provide enough chocolate intensity.
Salted Caramel Consistency : The caramel should be thick enough to hold its shape when spooned but fluid enough to incorporate into the dough without breaking it apart.
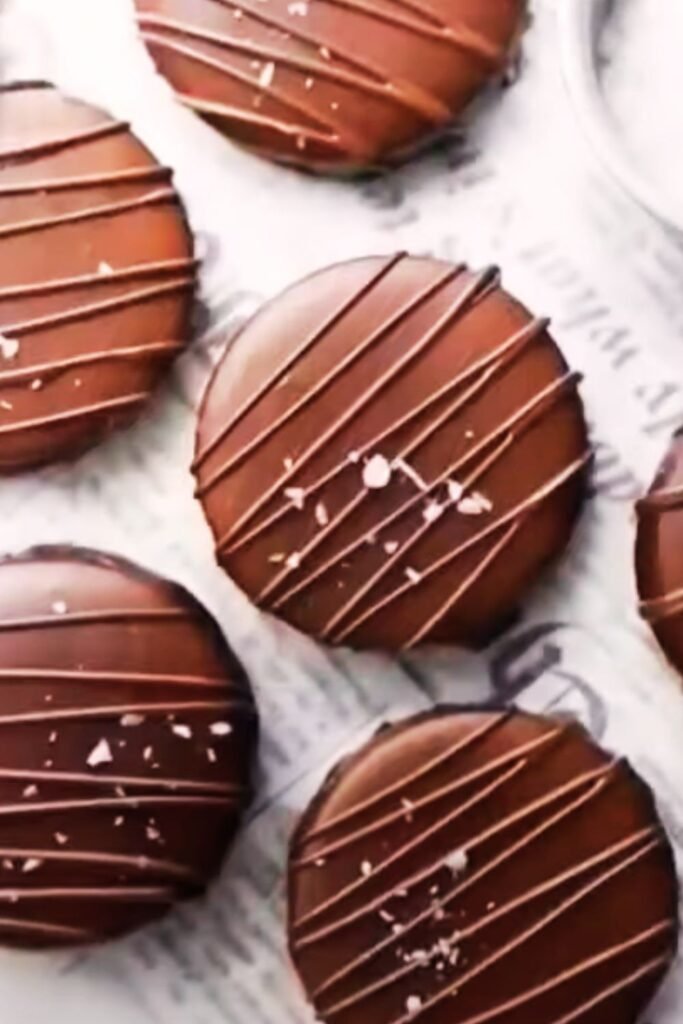
Salt Types and Applications : Flaky sea salt works best for topping, while fine sea salt integrates better into the caramel itself.
Flour Considerations : All-purpose flour provides the right structure, but a small addition of bread flour can improve chewiness.
Butter Temperature : Room temperature butter (around 65-68°F) creates the perfect creamy texture for proper mixing.
Essential Ingredients and Their Roles
| Ingredient | Amount | Purpose | Substitution Notes |
|---|---|---|---|
| All-purpose flour | 2¼ cups | Structure and stability | Can substitute up to ¼ cup with bread flour |
| Dark chocolate chunks | 1½ cups | Primary chocolate flavor | Use 60-70% cocoa content |
| Unsalted butter | 1 cup | Fat, flavor, texture | European-style preferred |
| Brown sugar | ¾ cup | Moisture, molasses flavor | Dark brown adds more depth |
| Granulated sugar | ½ cup | Sweetness, texture | Essential for proper spread |
| Large eggs | 2 | Binding, moisture | Room temperature works best |
| Vanilla extract | 2 tsp | Flavor enhancement | Pure vanilla only |
| Baking soda | 1 tsp | Leavening | Fresh for best results |
| Fine sea salt | 1 tsp | Flavor balance | Table salt acceptable |
| Flaky sea salt | For topping | Finishing touch | Maldon or similar preferred |
Homemade Salted Caramel Components
| Ingredient | Amount | Purpose | Tips |
|---|---|---|---|
| Granulated sugar | 1 cup | Caramel base | Don’t stir while melting |
| Heavy cream | ⅓ cup | Richness, consistency | Room temperature preferred |
| Unsalted butter | 3 tbsp | Silky texture | Add at the end |
| Fine sea salt | ½ tsp | Flavor balance | Adjust to taste |
| Vanilla extract | ½ tsp | Aroma enhancement | Add off heat |
Step-by-Step Cookie Creation Process
Preparing the Salted Caramel
First, I always start with the caramel since it needs time to cool. In a heavy-bottomed saucepan, I spread the granulated sugar evenly and heat it over medium heat without stirring. This is crucial – stirring can cause crystallization. I watch carefully as the sugar melts and turns amber, swirling the pan occasionally to ensure even melting.
When the caramel reaches a deep amber color, I remove it from heat and immediately whisk in the room-temperature heavy cream. The mixture will bubble vigorously, so I pour slowly and whisk constantly. Next, I add the butter and whisk until smooth, then stir in the salt and vanilla. I let this cool completely while preparing the cookie dough.
I add the eggs one at a time, mixing well after each addition, then incorporate the vanilla extract. Gradually, I add the flour mixture, mixing on low speed just until combined. Overmixing at this stage can lead to tough cookies.
Incorporating the Mix-ins
Here’s where the magic happens. I fold in the dark chocolate chunks, ensuring even distribution throughout the dough. Then, I take about half of my cooled salted caramel and gently swirl it through the dough. I don’t want to fully incorporate it – those ribbons of caramel create beautiful pockets of flavor in the finished cookies.
Baking Techniques for Perfect Results
Preparation and Shaping
I line my baking sheets with parchment paper and preheat my oven to 350°F. Using a cookie scoop or large spoon, I portion the dough into balls roughly 2 inches apart on the prepared sheets. Each cookie should be about 2 tablespoons of dough.
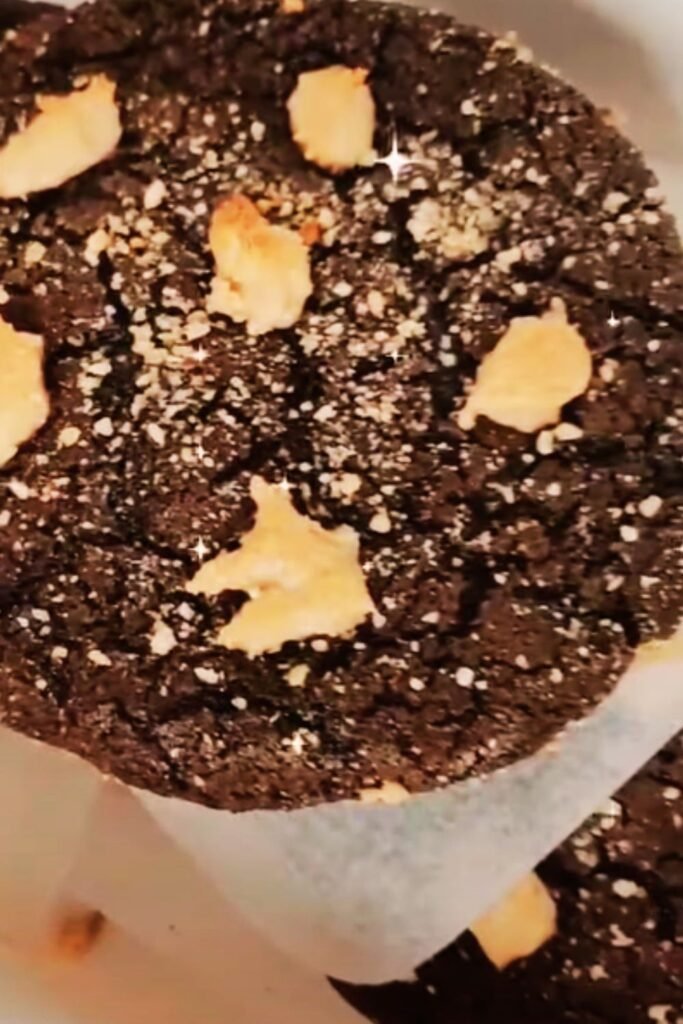
Before baking, I gently press a few extra chocolate chunks on top of each cookie and add a small drizzle of the remaining caramel. This ensures every cookie has visible mix-ins and creates that bakery-style appearance.
Baking Process
I bake the cookies for 9-11 minutes, until the edges are set but the centers still look slightly underdone. They’ll continue cooking on the hot pan after removal. This timing is crucial – overbaking will result in crispy rather than chewy cookies.
Immediately after removing from the oven, I sprinkle each cookie with a pinch of flaky sea salt while they’re still warm. This allows the salt to adhere properly and creates those beautiful crystal highlights.
Texture and Flavor Profile Analysis
| Characteristic | Description | Achievement Method |
|---|---|---|
| Exterior texture | Slightly crisp with golden edges | Proper baking time and temperature |
| Interior texture | Soft, chewy, slightly gooey | Slight underbaking, quality fats |
| Chocolate notes | Rich, slightly bitter, complex | 60-70% dark chocolate |
| Caramel flavor | Buttery, sweet with depth | Homemade caramel, proper cooking |
| Salt impact | Enhances all flavors, adds contrast | Flaky sea salt finish |
| Overall balance | Sweet-salty harmony | Careful proportioning |
Storage and Serving Recommendations
These cookies maintain their optimal texture for up to one week when stored in an airtight container at room temperature. I layer them between parchment paper to prevent sticking from any residual caramel.
For longer storage, I freeze the baked cookies for up to three months. I thaw them at room temperature for about 30 minutes before serving. Alternatively, the cookie dough can be portioned and frozen for up to two months, then baked directly from frozen with an extra minute or two of baking time.
Serving Suggestions and Pairings
These cookies pair beautifully with a variety of beverages and complement many dessert presentations:
- Serve warm with vanilla ice cream for an elevated dessert experience
- Pair with freshly brewed coffee or espresso to balance the sweetness
- Crumble over chocolate pudding or mousse for added texture
- Include in a dessert charcuterie board alongside fresh berries
- Serve with cold milk for a classic comfort combination
- Present with hot chocolate for the ultimate chocolate lover’s treat
Troubleshooting Common Issues
Caramel Problems and Solutions
| Problem | Cause | Solution |
|---|---|---|
| Crystallized caramel | Stirring during melting | Start over, don’t stir sugar |
| Too thin caramel | Insufficient cooking time | Cook longer to deeper amber |
| Grainy texture | Temperature shock | Ensure cream is room temperature |
| Too thick | Overcooking | Add warm cream gradually to thin |
Cookie Texture Issues
| Problem | Cause | Solution |
|---|---|---|
| Cookies spread too much | Butter too warm, insufficient flour | Chill dough, check measurements |
| Too thick/cakey | Overmixing, too much flour | Mix just until combined |
| Too crispy | Overbaking | Reduce baking time by 1-2 minutes |
| Caramel burns | Oven too hot | Lower temperature, use parchment |
Nutritional Considerations
While these cookies are undoubtedly an indulgent treat, understanding their nutritional profile helps with portion planning. Each cookie (recipe yields approximately 24 cookies) contains roughly 280-320 calories, depending on size. The dark chocolate provides antioxidants, while the homemade caramel eliminates artificial additives found in commercial versions.
The combination of fats from butter and proteins from eggs helps slow sugar absorption, making these cookies more satisfying than many commercial alternatives. The sea salt also provides essential minerals, though in minimal quantities.
Advanced Variations and Customizations
For those who want to experiment, I’ve developed several successful variations:
Espresso Enhancement: Add 1 tablespoon of finely ground espresso to the flour mixture for a coffee-chocolate combination.
Nutty Addition: Fold in ½ cup of toasted pecans or walnuts for added crunch and flavor complexity.
Spiced Version: Include ½ teaspoon of cinnamon and a pinch of cayenne pepper for warmth and subtle heat.
Size Variations: Create mini cookies using 1 tablespoon portions (bake for 6-8 minutes) or jumbo cookies using ¼ cup portions (bake for 12-14 minutes).
Quality Ingredient Sourcing
The success of these cookies heavily depends on ingredient quality. I recommend seeking out high-quality dark chocolate from reputable chocolate manufacturers. The difference in flavor between premium and standard chocolate is immediately noticeable in the finished product.
For the caramel component, using real vanilla extract rather than artificial flavoring creates a more complex flavor profile. Heavy cream with higher fat content (36% or higher) produces richer, more stable caramel.
When selecting sea salt, look for flaky varieties like Maldon or similar artisanal options. The texture and mineral content of quality sea salt significantly impacts the final flavor balance.
Professional Baking Tips
After years of perfecting this recipe, I’ve learned several professional techniques that make a significant difference:
I always weigh my flour when possible – 2¼ cups should equal approximately 280 grams. This ensures consistency across batches. I also recommend using a kitchen scale for the chocolate chunks to maintain proper chocolate-to-dough ratios.
Temperature control is crucial throughout the process. I use an instant-read thermometer when making caramel, aiming for 350°F before adding cream. For the cookies themselves, I rotate the baking sheets halfway through baking time to ensure even browning.
Room temperature ingredients mix more easily and create better texture. I remove eggs and butter from refrigeration about an hour before baking, or use the quick-softening method of cutting butter into small pieces.
Seasonal Adaptations
These cookies adapt beautifully to seasonal variations. During autumn, I sometimes add a pinch of pumpkin pie spice to complement the caramel flavors. Winter variations might include a hint of peppermint extract or crushed candy canes mixed into the dough.
Spring and summer versions can incorporate citrus zest – orange pairs particularly well with dark chocolate and caramel. I’ve also created successful versions using flavored salts, such as smoked salt for a more complex finish.
Questions & Answers
Q: Can I make the caramel ahead of time? The caramel can be made up to one week in advance and stored in the refrigerator. Gently rewarm it before using to restore the proper consistency for mixing into the dough.
Q: Why do my cookies turn out flat instead of thick? Flat cookies usually result from butter that’s too warm or dough that’s too warm when baking. Try chilling your shaped dough balls for 30 minutes before baking, and ensure your butter is properly softened but not melted.
Q: Can I use milk chocolate instead of dark chocolate? While you can substitute milk chocolate, the flavor balance will change significantly. Milk chocolate’s sweetness may overwhelm the salted caramel flavors. If using milk chocolate, consider reducing the granulated sugar by 2-3 tablespoons.
Q: How do I prevent the caramel from making my cookies soggy? The key is achieving the right caramel consistency – it should be thick enough to hold its shape. Also, ensure the caramel is completely cool before incorporating it into the dough, and don’t overmix once it’s added.
Q: Can I freeze the cookie dough? Absolutely! Portion the dough into balls, freeze on a baking sheet until solid, then transfer to freezer bags. Bake directly from frozen, adding 1-2 extra minutes to the baking time.
Q: What’s the best way to reheat leftover cookies? For best results, warm cookies in a 300°F oven for 2-3 minutes, or microwave individual cookies for 10-15 seconds. This will soften the caramel and restore that fresh-baked texture.
Q: Can I make these cookies gluten-free? Yes, substitute the all-purpose flour with a 1:1 gluten-free baking flour blend. The texture may be slightly different, but the flavors remain excellent. Ensure all other ingredients are certified gluten-free.
Q: How do I know when the caramel is the right color? The caramel should be a deep amber color, similar to honey or maple syrup. It will smell nutty and complex. If it starts smoking or turns very dark brown, you’ve gone too far and should start over.
Q: Can I double this recipe? The recipe doubles well, but make the caramel in separate batches for better control. Large quantities of caramel are harder to manage and more likely to burn.
Q: What happens if I accidentally add too much salt? If the caramel becomes too salty, you can balance it by adding a bit more butter and vanilla extract. For the cookie dough, there’s no easy fix, so measure carefully and taste the caramel before incorporating it.
These salted caramel dark chocolate cookies represent the perfect intersection of technique and flavor. They require attention to detail but reward you with bakery-quality results that will impress family and friends alike. The combination of homemade caramel, quality dark chocolate, and that finishing touch of flaky sea salt creates a cookie experience that’s truly memorable.