I’ve been perfecting potato recipes for over a decade, and I can confidently say that twice baked mini potatoes are among my absolute favorites. These little golden gems combine the comfort of traditional twice-baked potatoes with the convenience and charm of bite-sized portions. Whether you’re hosting a dinner party, preparing a family meal, or looking for the perfect side dish, these crispy-skinned, creamy-centered delights never fail to impress.
The beauty of twice baked mini potatoes lies in their versatility and presentation. Unlike their larger counterparts, these miniature versions cook faster, serve more people, and offer better portion control. I’ve served them at countless gatherings, and they disappear faster than any other appetizer or side dish on the table.
What Makes Twice Baked Mini Potatoes Special
The technique of twice baking transforms ordinary small potatoes into something extraordinary. The first bake creates that perfect fluffy interior, while the second bake after mixing with creamy ingredients creates a contrast of textures that’s simply irresistible. The crispy skin provides a delightful crunch, while the seasoned potato mixture inside melts in your mouth.
Key Terms and Definitions
Twice Baking : A cooking method where potatoes are first baked whole, then hollowed out, mixed with other ingredients, refilled, and baked again to achieve optimal texture and flavor integration.
Mini Potatoes : Small potatoes typically 1-2 inches in diameter, also known as baby potatoes, new potatoes, or fingerlings, perfect for individual servings.
Russet Fingerlings : Small, elongated potatoes with brown skin and white flesh, ideal for twice baking due to their fluffy texture when cooked.
Yukon Gold Minis : Small yellow potatoes with thin skin and creamy flesh, offering a buttery flavor that works excellently for twice baking.
Red Mini Potatoes : Small red-skinned potatoes with waxy flesh, providing a firmer texture and attractive color contrast in the final dish.
Selecting the Perfect Mini Potatoes
My experience has taught me that potato selection makes or breaks this recipe. I always look for potatoes that are uniform in size – about 1.5 to 2 inches in diameter. This ensures even cooking and professional presentation. The skin should be smooth without blemishes, and the potatoes should feel firm when gently squeezed.
I prefer Yukon Gold minis for their naturally buttery flavor and creamy texture. However, red mini potatoes work beautifully too, especially when you want that pop of color on your plate. Russet fingerlings are my third choice – they’re fluffier but can be more delicate to work with.
Essential Ingredients and Equipment
Core Ingredients
The magic happens with simple, quality ingredients. I use the following for approximately 24 mini potatoes:
- 2 pounds mini potatoes (uniform size)
- 4 tablespoons unsalted butter, softened
- 1/3 cup sour cream
- 1/4 cup heavy cream
- 1/2 cup sharp cheddar cheese, finely grated
- 2 tablespoons fresh chives, finely chopped
- 1 teaspoon garlic powder
- 1/2 teaspoon onion powder
- Salt and freshly ground black pepper to taste
- 2 tablespoons olive oil for initial baking
Equipment You’ll Need
- Large baking sheet
- Small spoon or melon baller for scooping
- Medium mixing bowl
- Fork for mashing
- Small offset spatula (optional but helpful)
- Parchment paper
Step-by-Step Preparation Method
Phase One: Initial Baking
I start by preheating my oven to 425°F (220°C). This high temperature creates that perfect crispy skin we’re after. While the oven heats, I wash and scrub the mini potatoes thoroughly, leaving the skin on – it’s where much of the flavor and nutrition lives.
After patting them completely dry, I pierce each potato 2-3 times with a fork. This prevents bursting during baking and allows steam to escape. I then toss them with olive oil and a generous sprinkle of coarse salt in a large bowl, ensuring each potato is well-coated.
The potatoes go on a parchment-lined baking sheet in a single layer. I bake them for 25-30 minutes, depending on size, until they’re tender when pierced with a knife and the skins are golden and slightly wrinkled.
Phase Two: Creating the Filling
Once the potatoes cool enough to handle (about 10 minutes), the real artistry begins. Using a small spoon or melon baller, I carefully scoop out the flesh, leaving about 1/4 inch of potato attached to the skin. This creates sturdy little boats that won’t collapse during the second baking.
In my mixing bowl, I combine the scooped potato flesh with softened butter, sour cream, and heavy cream. I mash everything together with a fork, leaving some small lumps for texture – I don’t want it perfectly smooth. Then I fold in the grated cheese, chives, garlic powder, onion powder, salt, and pepper.
The key here is tasting and adjusting. I always add salt gradually and taste frequently. The mixture should be creamy, well-seasoned, and hold together nicely.
Phase Three: Assembly and Final Baking
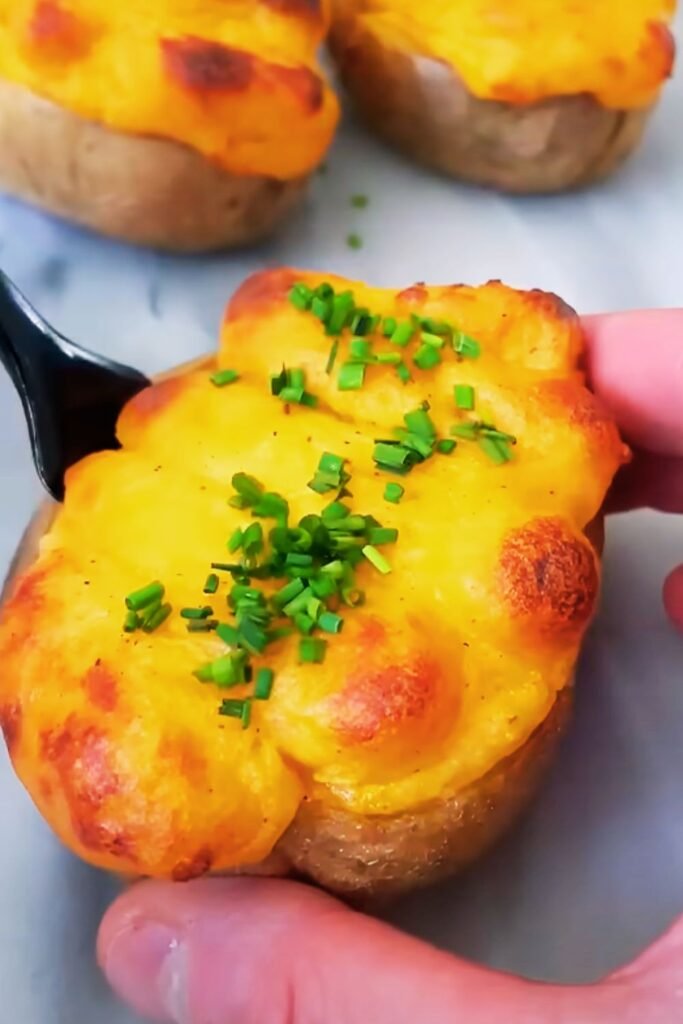
I reduce my oven temperature to 375°F (190°C) for the second bake. Using a small spoon, I generously fill each potato skin with the mixture, mounding it slightly on top. I like to drag a fork across the top of each filled potato to create texture – this will brown beautifully during the final baking.
Back in the oven they go for 15-20 minutes, until the tops are golden brown and the filling is heated through. I often finish them under the broiler for 1-2 minutes to achieve that perfect golden top.
Nutritional Information and Serving Details
Comprehensive Nutritional Breakdown
| Nutrient | Per Serving (2 potatoes) | % Daily Value |
|---|---|---|
| Calories | 185 | 9% |
| Total Fat | 8.5g | 11% |
| Saturated Fat | 5.2g | 26% |
| Cholesterol | 22mg | 7% |
| Sodium | 220mg | 10% |
| Total Carbohydrates | 24g | 9% |
| Dietary Fiber | 2.8g | 10% |
| Sugars | 2.1g | – |
| Protein | 5.2g | 10% |
| Vitamin C | 15mg | 17% |
| Potassium | 485mg | 10% |
| Calcium | 95mg | 7% |
| Iron | 1.2mg | 7% |
Cooking Time Breakdown
| Phase | Temperature | Time | Purpose |
|---|---|---|---|
| First Bake | 425°F (220°C) | 25-30 minutes | Cook potatoes through, crisp skins |
| Prep Time | Room Temperature | 15 minutes | Cool, scoop, mix filling |
| Second Bake | 375°F (190°C) | 15-20 minutes | Heat filling, brown tops |
| Optional Broil | High Broil | 1-2 minutes | Golden brown finish |
| Total Time | – | 55-67 minutes | Complete recipe |
Flavor Variations I Love to Make
Over the years, I’ve developed several variations that keep this recipe exciting. My bacon and cheese version adds 4 strips of crispy bacon, crumbled fine, mixed into the filling. The smoky flavor pairs beautifully with the creamy potato base.
For a lighter version, I substitute Greek yogurt for the sour cream and reduce the butter by half. I add extra herbs – dill, parsley, and a touch of lemon zest – to brighten the flavors.
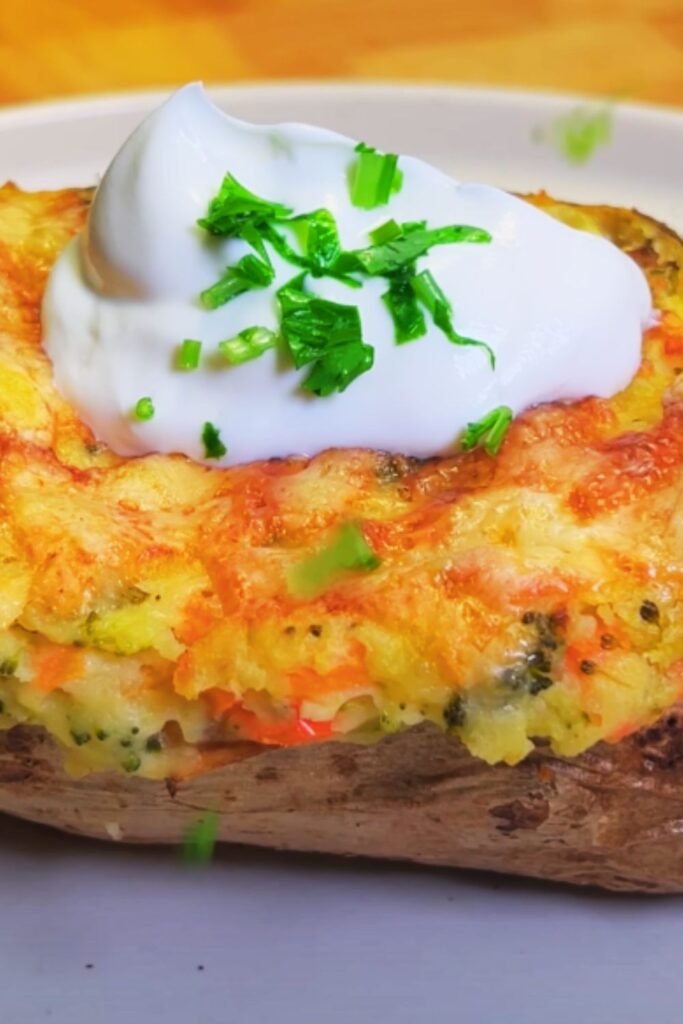
My loaded version includes everything: bacon, extra cheese, green onions, and a dollop of additional sour cream on top after baking. It’s indulgent but absolutely worth it for special occasions.
For a sophisticated twist, I sometimes add roasted garlic (whole cloves roasted until soft and sweet), fresh thyme, and gruyere cheese instead of cheddar. This elevates the dish to restaurant quality.
Storage and Reheating Guidelines
Proper Storage Methods
| Storage Method | Temperature | Duration | Best For |
|---|---|---|---|
| Refrigerator | 35-40°F (2-4°C) | 3-4 days | Leftover cooked potatoes |
| Freezer | 0°F (-18°C) | 2-3 months | Long-term storage |
| Room Temperature | 65-75°F (18-24°C) | 2 hours maximum | Immediate serving |
| Make-Ahead Prep | 35-40°F (2-4°C) | 24 hours | Assembled, unbaked |
I’ve found that these potatoes store remarkably well. For refrigerator storage, I place them in an airtight container and reheat in a 350°F oven for 10-12 minutes. They maintain most of their original texture and flavor.
For freezing, I wrap them individually in plastic wrap, then place them in a freezer bag. They reheat beautifully from frozen – just add an extra 5-10 minutes to the reheating time.
Serving Suggestions and Pairings
These versatile little potatoes work in countless scenarios. As an appetizer, I serve them at cocktail parties with small spoons or forks. They’re elegant enough for formal dinners yet casual enough for family meals.

For main dish pairings, they complement roasted meats beautifully. I particularly love them with herb-crusted lamb, roasted chicken, or grilled steak. The rich, creamy interior balances the protein perfectly.
They also shine at brunches alongside egg dishes, or as part of a vegetarian spread with roasted vegetables and fresh salads. I’ve served them at holiday gatherings where they consistently steal the show from traditional side dishes.
Troubleshooting Common Issues
Problem-Solution Guide
| Problem | Cause | Solution | Prevention |
|---|---|---|---|
| Skins breaking | Overcooking or rough handling | Use gentler touch, check doneness frequently | Test with knife tip, don’t over-bake |
| Filling too dry | Not enough liquid ingredients | Add more cream or sour cream gradually | Measure liquids carefully |
| Filling too wet | Too much liquid | Add more potato flesh or cheese | Drain excess liquid before mixing |
| Uneven browning | Hot spots in oven | Rotate pan halfway through | Use oven thermometer, rotate regularly |
| Bland flavor | Under-seasoning | Season in layers, taste frequently | Salt both potato flesh and skins |
I’ve encountered most of these issues during my years of perfecting this recipe. The most common mistake I see is under-seasoning. Remember, potato flesh absorbs a lot of salt, so don’t be afraid to season generously.
Advanced Techniques for Perfect Results
After making thousands of these potatoes, I’ve developed some professional techniques that make a real difference. I always let the first-baked potatoes rest for exactly 10 minutes – this prevents the filling mixture from becoming gummy while ensuring the skins remain intact during scooping.
When mixing the filling, I use a fork rather than a masher or mixer. This preserves some texture while preventing the potatoes from becoming gluey. The slight lumpiness actually improves the final texture.
For the most professional appearance, I pipe the filling back into the skins using a large star tip. This creates beautiful ridges that brown evenly and look restaurant-quality.
Temperature control is crucial. If my oven runs hot, I reduce the temperature by 25 degrees and increase the cooking time slightly. I always use an oven thermometer to verify accuracy.
Seasonal Adaptations and Holiday Versions
During fall and winter, I incorporate seasonal flavors like roasted butternut squash puree mixed into the potato base, or sage and brown butter for an elegant autumn touch. The orange color from the squash creates a beautiful presentation.
For holidays, I make a cranberry-brie version that’s absolutely stunning. I mix dried cranberries and small chunks of brie into the potato mixture, creating pockets of creamy cheese and tart fruit.
My spring version includes fresh peas, mint, and lemon zest – it’s bright and refreshing after heavy winter foods. Summer versions might feature fresh corn kernels and basil for a fresh, seasonal taste.
Cost Analysis and Meal Planning
Economic Breakdown
| Component | Cost per Recipe | Servings | Cost per Serving |
|---|---|---|---|
| Mini Potatoes (2 lbs) | $3.50 | 12 | $0.29 |
| Dairy Products | $2.25 | 12 | $0.19 |
| Cheese | $2.00 | 12 | $0.17 |
| Seasonings/Herbs | $0.75 | 12 | $0.06 |
| Total Recipe Cost | $8.50 | 12 | $0.71 |
This recipe offers excellent value, especially when feeding a crowd. At about $0.71 per serving, it’s much more economical than restaurant appetizers while delivering superior flavor and quality.
For meal planning, I often double the recipe and freeze half for future meals. This reduces prep time for busy weeknights while ensuring I always have an impressive side dish ready.
Questions and Answers
Q: Can I make twice baked mini potatoes ahead of time? I absolutely recommend making these ahead! You can complete the entire recipe up to the final baking step, then refrigerate for up to 24 hours. When ready to serve, just pop them in a 375°F oven for 18-22 minutes until heated through and golden brown.
Q: What’s the best way to scoop out the potato flesh without breaking the skins? I use a small spoon or melon baller and work gently in a circular motion. The key is letting the potatoes cool for exactly 10 minutes after the first bake – they’ll be easier to handle but the skins won’t be too firm yet.
Q: Can I freeze twice baked mini potatoes? Yes! I wrap them individually in plastic wrap after the final baking, then store in freezer bags for up to 3 months. To reheat, bake from frozen at 375°F for 20-25 minutes.
Q: Why do my potato skins sometimes get soggy? Soggy skins usually result from under-baking in the first phase or not draining excess moisture from the filling mixture. Make sure the initial bake creates crispy skins, and if your filling seems wet, add a bit more cheese to absorb moisture.
Q: Can I use different types of mini potatoes? Absolutely! I prefer Yukon Gold for their buttery flavor, but red mini potatoes work beautifully too. Russet fingerlings are more delicate but create a fluffier texture. Just ensure they’re all roughly the same size for even cooking.
Q: What’s the secret to getting that perfect golden-brown top? I create texture on the filling surface with a fork before the final bake – this creates more surface area for browning. I also finish under the broiler for 1-2 minutes if needed, watching carefully to prevent burning.
Q: How do I prevent the filling from becoming gummy? Never overmix the potato filling! I use a fork and fold ingredients together gently. Also, make sure your potatoes aren’t overcooked in the first baking phase, as this can make them waterlogged and prone to becoming gummy.
Q: Can I make these dairy-free? Yes! I substitute vegan butter and cashew cream for the dairy ingredients. Nutritional yeast adds a cheese-like flavor. The texture will be slightly different but still delicious.
Q: What size mini potatoes work best? I look for potatoes that are 1.5 to 2 inches in diameter. This size provides enough flesh to create a substantial filling while maintaining the cute mini appearance. Anything smaller becomes fiddly to work with.
Q: How do I know when the first bake is complete? The potatoes should yield easily when gently squeezed (use an oven mitt!) and a knife should slide in without resistance. The skins will look slightly wrinkled and golden. This usually takes 25-30 minutes at 425°F.
These twice baked mini potatoes have become one of my signature dishes, and I’m confident they’ll become a favorite in your kitchen too. The combination of technique, quality ingredients, and attention to detail creates a dish that’s both approachable for home cooks and impressive enough for special occasions. Whether you’re serving them as appetizers, side dishes, or even light main courses, they deliver comfort food satisfaction in an elegant, portion-controlled package.